How to create Black & White images with Photoshop
Photoshop provides several options to convert a RGB picture into a monochrome black & white masterpiece. In this article we show you 7 creative techniques to get there and yield better black and white conversion results.
Corrections: Black & White
Photoshop CS3 and all following versions offer the easy option of black and white correction. Simply go to Layer > New Adjustment Layer > Black & White to go for the non-destructive version. If you don’t like the result you can easily change the settings or delete the layer altogether. Choose one of the 8 available colour ranges to change brightness values. Problem is that the picture is already monochrome, which makes it quite hard to identify all the colours in your image.
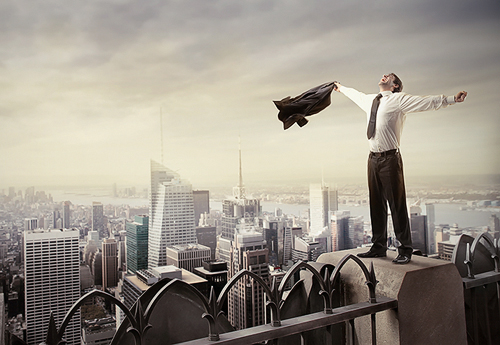
It’s much more intuitive and easier to do it directly in the document. In the panel for the adjustment layer Black & White you click the little hand icon in the top left corner to activate the function. If you now hover over the image you see the eyedropper symbol. Click on an area you want and drag left to darken or right to brighten up the image. Photoshop knows the colour channel associated to the area you clicked on and does the selection for you.
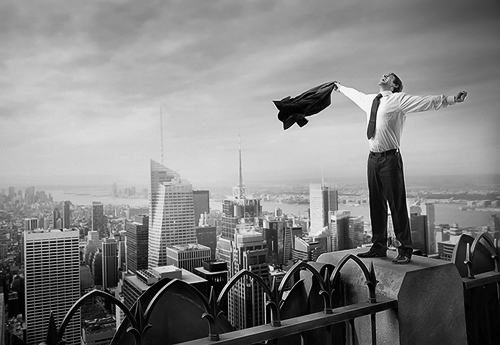
Correction: Channel Mixer
Instead of the Black & White correction you could also use Image > Adjustments > Channel Mixer. Check the box for Monochrome and play around with the channels as you like.

The Channel Mixer can also be applied as a new adjustment layer. Go to Layer > New Adjustment Layer > Channel Mixer, check Monochrome and change channels, but be careful. To preserve image quality the combined value of the channels should not exceed 100%.
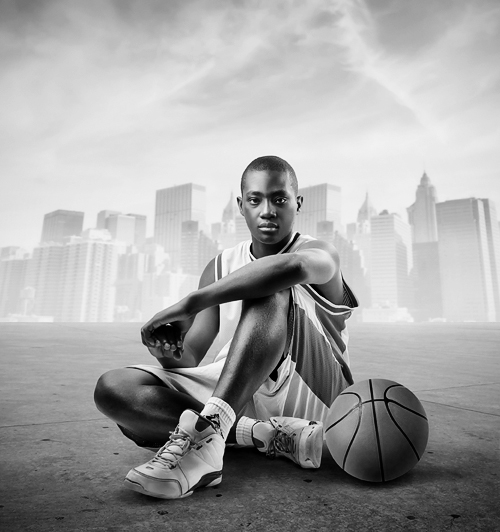
Desaturation
The quickest and easiest way to achieve the black & white effect is to reduce saturation of the image via Image > Corrections > Desaturate. Using the correction mode Hue/Saturation and bringing saturation to -100 should achieve the same result but as it will look fairly bland you’ll need to optimize it with Brightness/Contrast.

The Hue/Saturation mode also allows to modify brightness of individual colour ranges via a drop-down menu. Check Colorize to give your black & white image a nice tint.
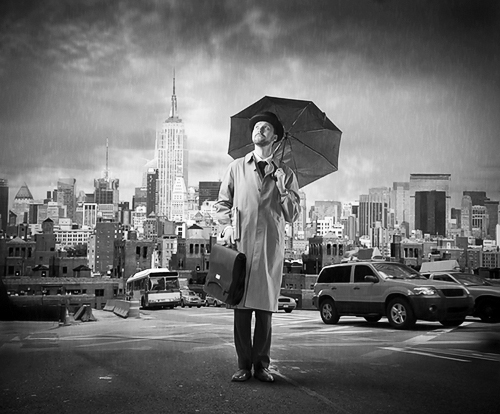
Grayscale
Another option to get to your black&white image is Image > Mode > Grayscale. When you’re asked to discard colour information, click approve. Unfortunately you can’t influence the conversion and many adjustment options and filters are not available. The results are interesting, however. After converting just head over to Image > Mode > RGB colour and go on optimizing your image.
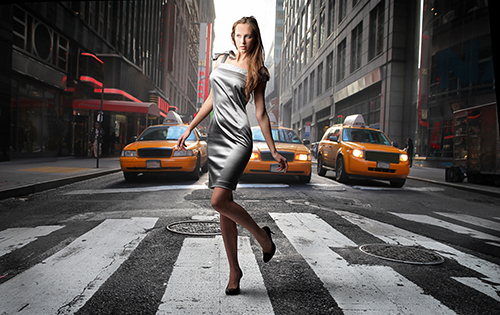
Add some contrast via Image>Adjustments>Curves. Set one anchor in the middle of the graph and another down on the left side. Move the latter a little to the right and see what happens.
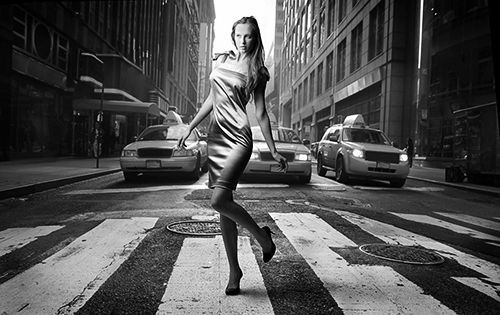
Gradient Map
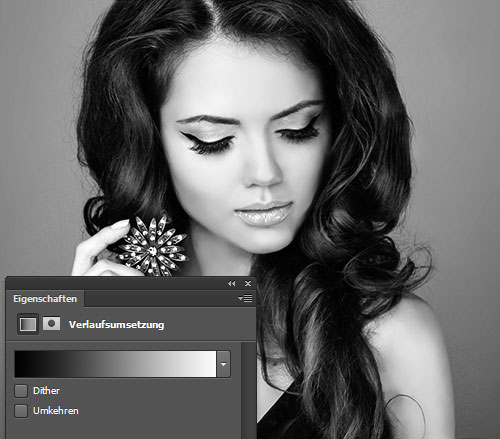
Gradient map is a great choice for those who like high-contrast images. Choose Layer> New Adjustment Layer > Gradient Map with a black & white gradient.
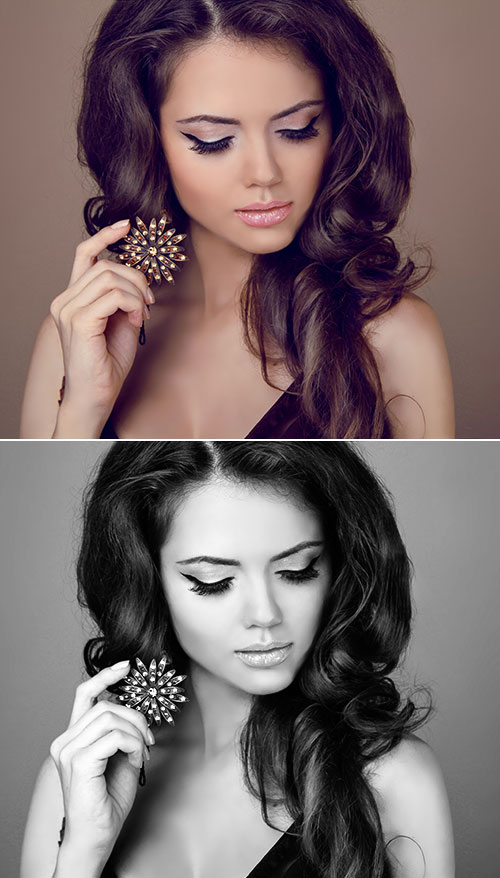
In the dialog click the colour stop to customize the gradient. Via the colour picker you can easily switch white to a beige tone for interesting results like a vintage touch.
Lab Color
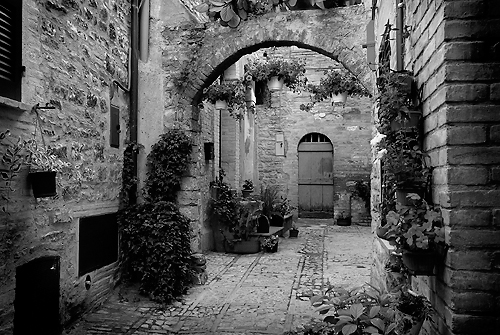
The Lab color mode provides us with the specialty that brightness values are separated from the color values. In the layers panel change from layer to channel view and activate the brightness channel. Image > Mode > Grayscale nails the result.
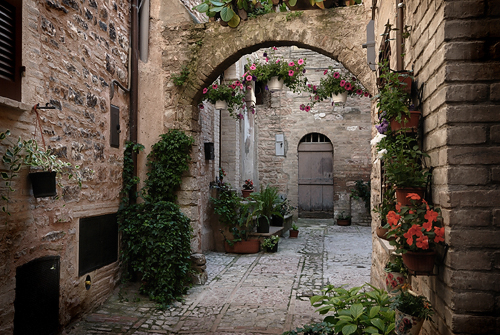
Back in RGB mode you could sharpen the image with Filter> Sharpen > Unsharp mask. For the courtyard the following values were used: Strength: 450%, Radius: 0.2 pixels and Threshold: 8 steps.
Textured Black & White with Calculations
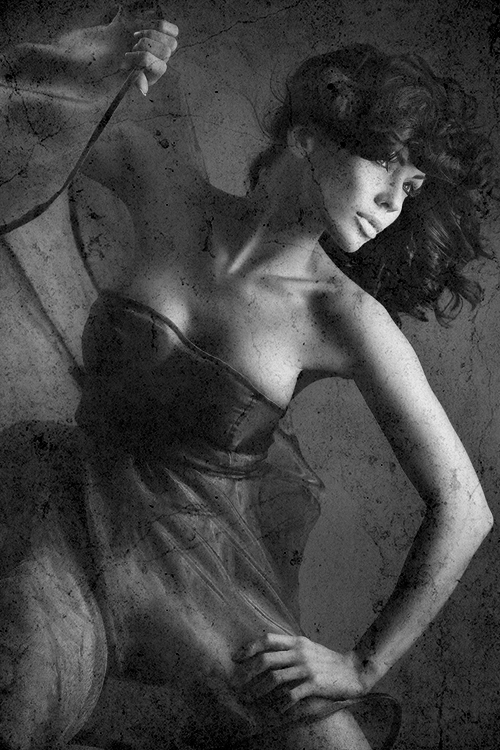
The last version is more complex because you need an image on the first layer and paper texture on a second one above that. The image layer is active and visible, the texture layer hidden. Click Menu Image > Calculations and select the photo layer as first source. Second source is the texture layer. Now set Blending Mode to Linear Burn and reduce opacity.
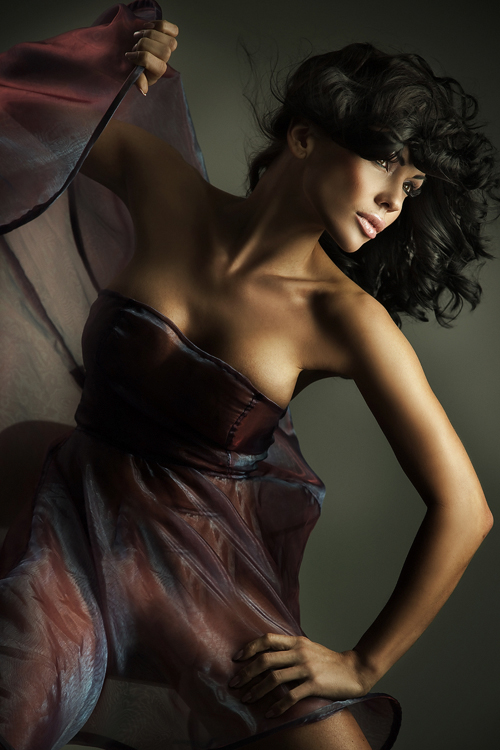
Now it’s time to experiment by selecting different channels and opacities. This is only fun if you have the box for Preview checked. For the result select a new image. This is a fairly experimental process that can yield results varying between interesting and awesome. Have your go and report back to us!
You know yet another way of creating bleak images into stunning black and white artwork? Feel free to share them with our readers.




excellent, tks!
Marina