Austria
Belgium
Canada
Czech Republic
Denmark
Finland
France
Germany
Great Britain
Greece
Hungary
Ireland
Italy
Luxembourg
Netherlands
Norway
Poland
Portugal
Slovakia
Slovenia
Spain
Sweden
Switzerland
USA
Printing products
- Ad inserts
- Address labels
- Appointment cards
- Birthday cards
- Booklets
- Bookmarks
- Books
- Bottle labels (sticky/stick-on)
- Brochures/Magazines
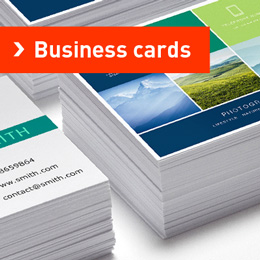
- Business cards
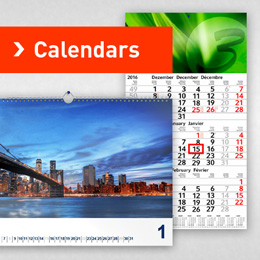
- Calendars
- CD/DVD products
- Christening cards
- Christmas cards
- Christmas postcards
- Clipboards
- Compliment slips
- Contactless cards
- Desk pads
- Dissertations
- Dividers (separator sheets)
- Doctoral theses
- Document folders
- Door hangers
- Drawing folders
- Election Posters
- Envelopes
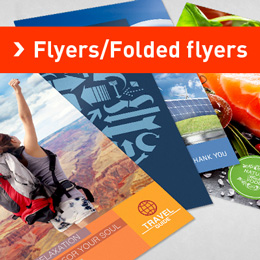
- Flyers/Folded flyers
- Folded cards
- Folders
- Gift tags
- Gift wrapping papers
- Greeting Cards
- Invitations
- Job Application Folders
- Labels
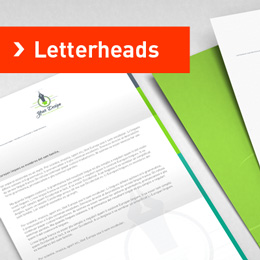
- Letterheads
- Lever arch files
- Loyalty cards
- Magazine files
- Magnetic stripe cards
- Membership cards
- Memo pads
- NCR papers
- Neon posters
- Neon stickers
- Note pads
- Notebooks
- Packing tapes
- Pamphlets
- Plastic cards
- Plastic Sleeves
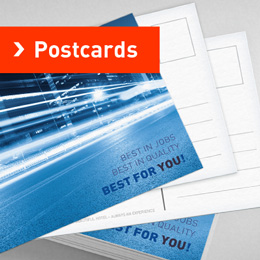
- Postcards
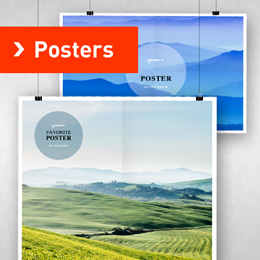
- Posters
- Printing Sheets
- Ring binders
- Ring folders
- Sales Folders
- Seminar folders
- Slipcases
- Smart cards
- Stamps
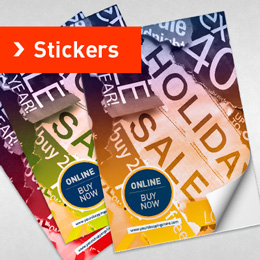
- Stickers
- Sticky note sets
- Sticky notes
- Student magazines
- Sympathy Cards
- Tablet hardcovers
- Tickets
- Wedding Cards
- Wedding magazines
- Writing cases
- More products?
Photo products
- Photo books
- Photo buttons
- Photo calendar
- Photo canvas
- Photo collages
- Photo colouring books
- Photo cups
- Photo door plaques
- Photo greeting cards
- Photo mouse pads
- Photo paint calendars
- Photo posters
- Photo prints
- Photo puzzles
- Photo smartphone cases
- Photo stickers
- Photo tablet cases
- Photo wall murals
- Photo wall pictures
- Photomatch
- More products?
- Created online with
Textile products
- Aprons
- Bags
- Baseball caps
- Bathrobes
- Beanies
- Blouses
- Chef jackets
- Gilets
- Gym bags
- Hoodies
- Jackets
- Jerseys
- Long sleeves
- Polo shirts
- Running T-shirts
- Shirts
- Sport shorts/trousers
- Sport socks
- Sweatshirts/Sweaters
- T-shirts
- T-shirts for babies
- T-shirts for kids
- Towels
- Work jackets
- Work trousers
- Zip up hoodies
- More products?
Packaging
Advertising equipment
- (Chair) Covers
- A-boards
- Accessories
- Advertising column
- Backlit films
- Banner frames
- Beachflags
- Business signs
- Canvas prints
- Counters
- Door signs
- Event signs
- Fabric Banners
- Flags
- Floor stickers
- Frames
- L-/X-banners
- Light boxes
- Magnetic sheets
- Magnets
- Pavement Signs
- Pop-up stands
- Pop-up towers
- Rigid banners with stand
- Roller Banners
- Self adhesive film
- Showroom plates
- Signboards
- Signs with suction cups
- Tarpaulins/Banners
- Tension fabric frames
- More products?
Large-format
Catering supplies
- Aprons
- Bathrobes
- Bottle tags
- Chef jackets
- Coasters
- Cutlery bags
- Drip catchers
- Menus
- Mugs
- Napkins
- Order Pads
- Place cards
- Place mats
- Tent cards
- More products?
Promo products
- Advent calendars
- Bag clips
- Ballpoint pens
- Bottle openers
- Chocolate
- Cinnamon star biscuits
- Deck chairs
- Dextrose candy
- Drink cans
- Floor mats
- Folding rulers
- Fruit drops
- Gingerbread
- Ice scrapers
- Keyrings
- Lanyards
- Letter openers
- Lollipops
- Match sticks
- Mugs
- Paperclips
- Parking discs
- Pencils
- Rulers
- Stress balls
- Tape measures
- Trolley coins
- Umbrellas
- USB sticks
- Wine gums
- Wristbands
- More products?
Office supplies
- Ballpoint pens
- Business card cases
- Business card holders
- Crayons
- Envelopes
- Erasers
- Fineliners
- Glue sticks
- Highlighters
- Hole punches
- Ink cartridges
- Note pads
- Note paper boxes
- Notebooks
- Paperclips
- Pen refills
- Pencils
- Plastic sleeves
- Pocket calculators
- Rulers
- Stamps
- Staplers
- Sticky note sets
- Sticky notes
- Toners
- Whiteboard markers
- More products?


How to make your own Christmas card in Illustrator
The best way to say Merry Christmas!
In this tutorial we will show you how to make a cool Christmas card in Adobe Illustrator. You will see that it’s very easy to make one. But for that you need to know how to use a few Illustrator tools.
Let’s start!
Click image for full size
First open an A4 document and make a black background (#0a0a0a). Then divide the artboard in two pieces. One will be the front cover and the other one will be the back cover. Use white (#efefef) to make the frame, but remember that in the middle (where the card will be folded) you should make a double line.
Click image for full size
Make a triangle and then with the Pen Tool make the inside lines. Then select everything and go to Object>Expand and then to Window>Pathfinder>Minus Front.
Click image for full size
After you duplicated the shape, select the whole line and duplicate it again. Then Right click on the second row and click Reflect Horizontal. After that, adjust everything and make it look good. Use the eraser tool if the lines go over frame.
Click image for full size
Now with the Pen Tool make a path and go to Window>Stroke and check the Dashed Line button. Make 4pt dash and 4pt gap. After that go to Object>Expand Appearance and Object>Expand. Then go to Effect>Stylize>Round Corners and set Radius to 10pt.
Click image for full size
Click image for full size
Duplicate the dots and the line and Reflect it Horizontal. Then make a zig zag path, duplicate it and Reflect it Horizontal. After that, intersect the paths and make them look like squares.
Click image for full size
For the next motif, take the top row and bring the shapes closer to each other like you see in the picture. Then select the row, duplicate it and Reflect it Horizontal. Again bring them closer to each other (and you should have a pattern like we have in the red rectangle). The green selection is just for you to see how we’ve made what’s inside the red rectangle.
Click image for full size
Duplicate the rows and put them like you want. We started with the bottom rows to see how much space we had left.
Click image for full size
Now, with the motifs that you already have, fill the whole card. For the back cover we just duplicated the front cover and reflected it Vertical. For a nice look, we recommend that you bring the Frame layer to the front (by dragging it on top of the layer box).
Click image for full size
Make a circle in the middle of the card and type your text there.
Click image for full size
Now just use your imagination and play with shapes and lines to make it look exactly like you want.
Click image for full size
We want to do one more thing before we are ready. We think the circle will look cooler if we make it look like a Christmas decoration. For that, play with shapes.
This is it. It’s a very simple and cool Christmas card!
I hope this tutorial helped you to learn more about the tools and that you are now able to make you own Christmas card.
Related posts: