Easy as ABC and 123!
They are all the rage, and so it is no wonder that we are quite frequently stumbling upon typographic posters and works of art that represent letters of the real world. Here images of characters are processed so that they can represent the whole alphabet. Some mix various styles, such as graffiti, neon signs and old printing plates. Others prefer another style, for example, with all letters carved in wood.
Through this concept, there is so much to consider, such as the uniformed size of all characters, optimizing the colors and contrasts as well as the perspective. Check out these tips and tricks for your next typographical creations!
Our goal
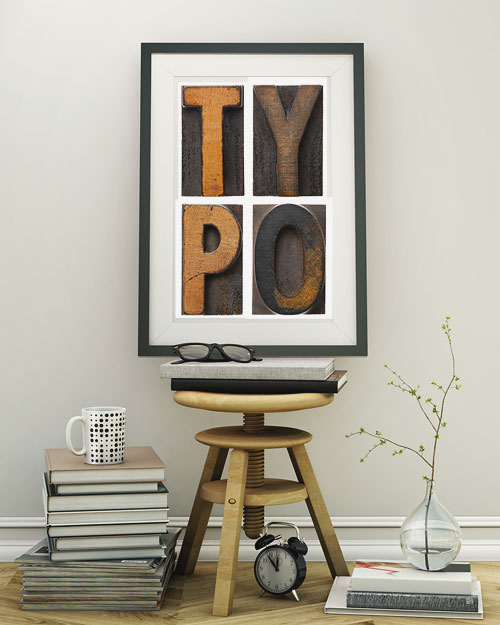
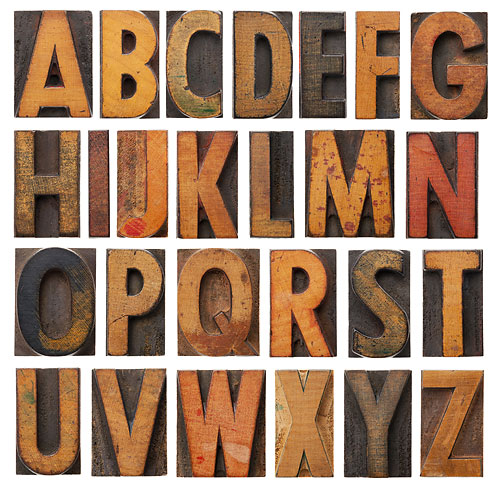
In this template, all letters are available. Therefore, it is quite easy, as you can see, to photograph them and get a complete alphabet. These characters have been used to form, on the upper photo, the word „TYPO“. We often have our alphabet but can always create one from numerous, very different snapshots.
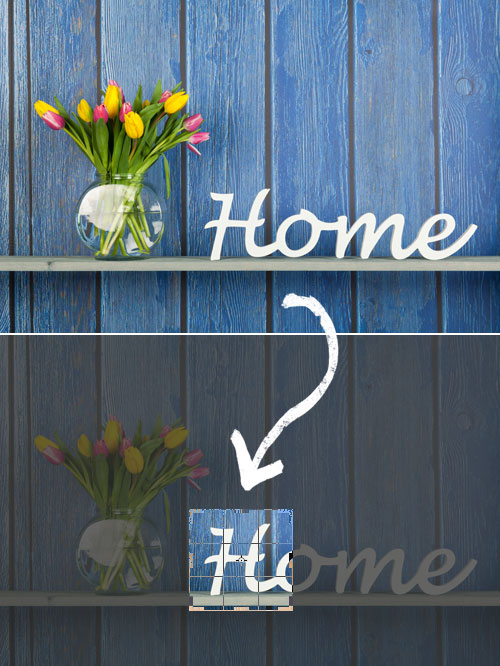
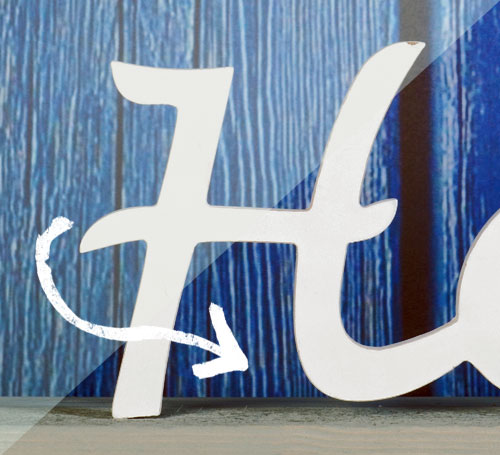
Typography trick #1: Cutting letters
Activate the Crop tool and draw a box around the letters, as shown in the example. Double-click in the middle of the frame to release the letter. If you want to later adjust the image section, go to the Options Bar and unselect Delete Cropped Pixels. Then you can still position the characters in the document with the help of the Move tool even after the letter being released.
Typography Trick # 2 : Optimizing the image
Press Ctrl + J to copy the background layer once, then select Image > Auto Tone and Image > Auto Contrast first rapid optimization (the result is too strong, so each process can be minimalised by choosing Edit > Fade). Still missing contrast, go to the menu Image > Adjustments > Brightness / Contrast and increase its value with the help of the contrast slider.
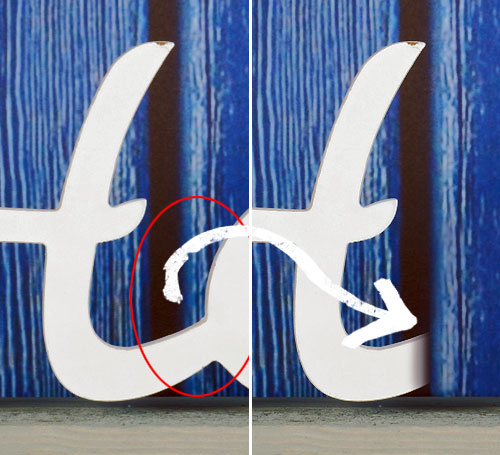
Typography Trick #2: Retouching the letters
Often a letter is mixed with another one which is why a little retouching work may be necessary. Here we’ve simply selected, with the Marquee tool, the top of the wooden section and copied it to a separate layer using Ctrl + J. With the move tool this section is then positioned down and adapted as a mask to the new environment. To do so, you will need to click on the main menu, then Layer > Layer Mask > Hide All and then erase edges with a brush and black foreground color for a smooth transition to the original.
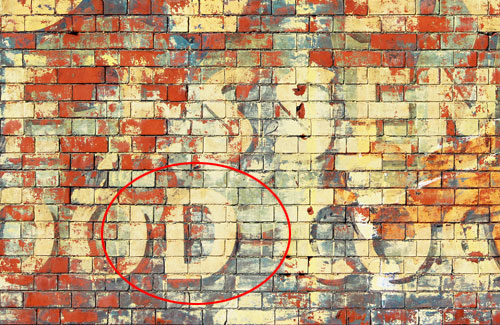
Typography Trick #3: Exploring more letters
The task now is to discover the other types of letters. And they can be found everywhere: such as in the following example on an old painting on a wall in order to obtain the letter D. Building’s walls, packaging and even old typewriters can also be a great source of typographic materials.
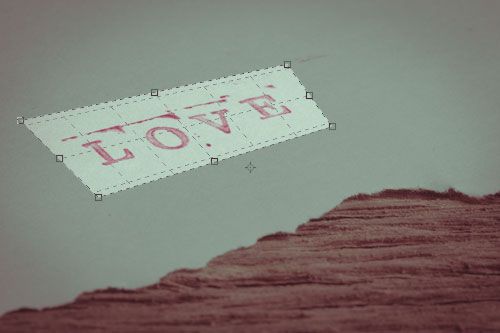
Typography Trick #4: Correcting the perspective
Since we cannot be so picky about the number of letters, we cannot quite optimize the snapshot perspective-wise. In Photoshop, activate the Perspective Crop tool and set so that points can be visible all along the font. When all four points are set you will be able to easily pull apart the sides of the grid so it can be enlarged. Just go slightly off the edge so you can easily rotate the entire grid. Double-clicking in the center to release the image yet again – this will correct the characters’ perspective.
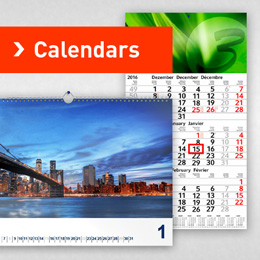
Typography Trick #5: Be inspired!
You can find numerous examples of typography all over the Internet. As an example, the Typographic Wall Calendar by Harald Geisler is a good one which is now being published in its 7th edition. He assembles old keyboard buttons in order to create a typographic design which are, over the decades, not as uniform as one may think they are.

Quelle: Harald Geisler


I must agree with what you said about correcting the perspective in typographic design.
Looking forward to some more useful tips!
Hello Duke,
Thanks a lot for such a nice comment! Yes, you can be assured that we will carry on giving useful tips to our readers!
Kind regards,
Glad to hear that! :D
Kindest regards!
Duke