How to give your images an old touch
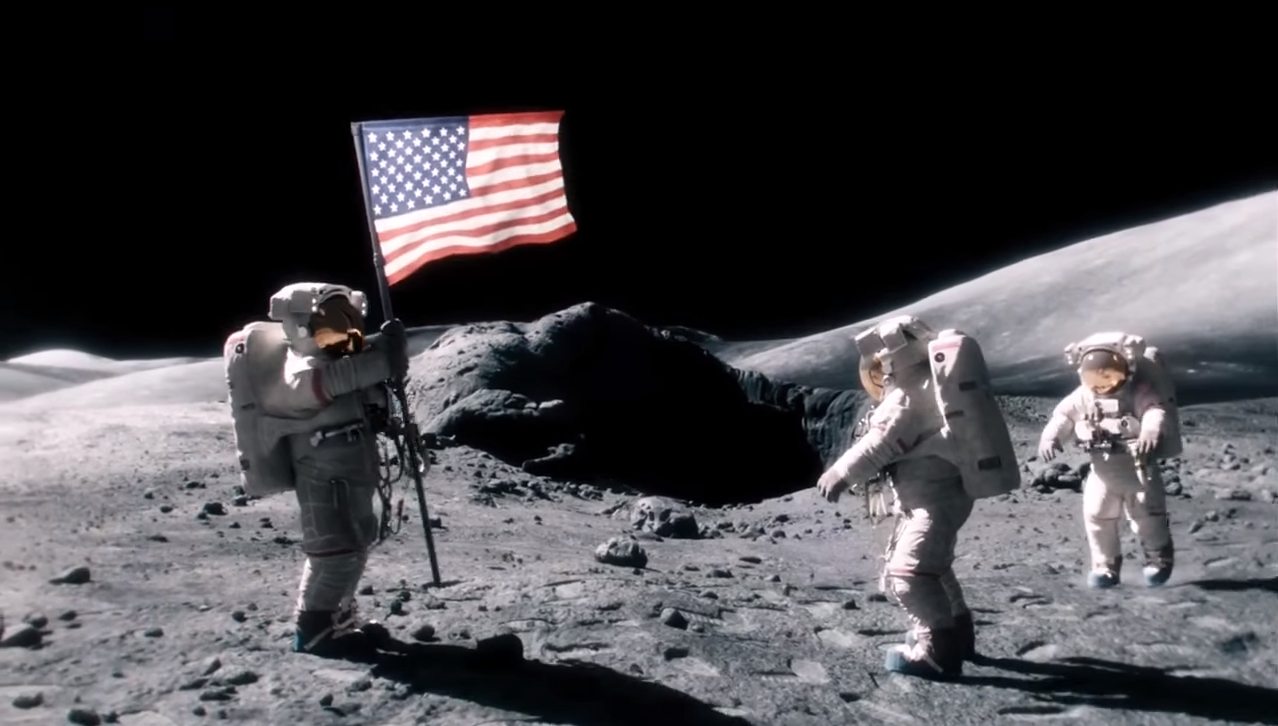
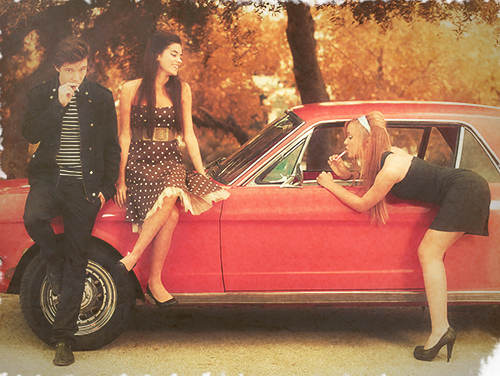
Photographic vintage effects need suitable visual content to work. Before shooting consider which props you’ll need for the full effect. This might be obvious advise but if you want to show a scene from the 70’s you should avoid using modern cars, iPads or even inappropriate clothing.
The following approaches to Photoshop vintage effects are for those who want to achieve these effects fast and efficiently. As we use adjustment layers you can still edit your settings afterwards to make slight changes where required.
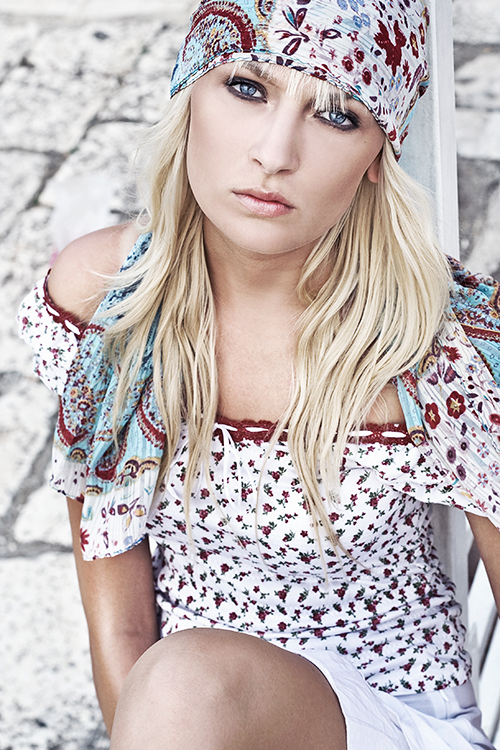
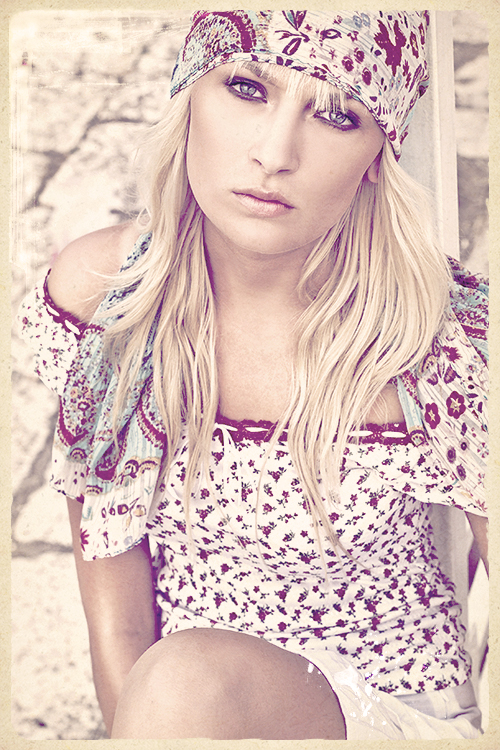
70’s color style
Color mood is extremely important when simulating convincing 70’s imagery. Create a New Layer > Adjustment Layer > Color Balance and select Shadows. Set Magenta/Green to -60. Change to Midtones and set Cyan/Red to -50. Change to Highlights and set Yellow/Blue to -15.
Alternatively choose New Layer > Adjustment Layer > Curves. Change to the red channel instead of using RGB and set one grip point on the middle of the graph and another closer to the bottom left, which you pull slightly right to get a slightly S-shaped curve. Do the same with the green channel. Change to blue channel, set a handle on the middle and another below but this time pull it to the left side. You might also try a combination of both techniques to achieve a creative color adjustment.
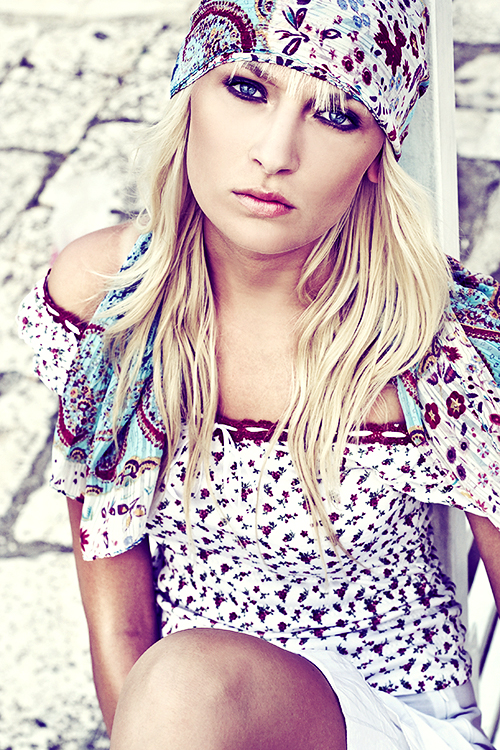
Create a New Layer > New Fill Layer > Solid color with color #eebbbb (RGB 238, 187, 187) and change blending mode to Soft Light. Reduce to 65% Fill Opacity to give the image a softer look. You could also try New Layer>New Adjustment Layer>Fotofilter. Choose the Violet Filter, then set 25% density and 70% fill opacity.
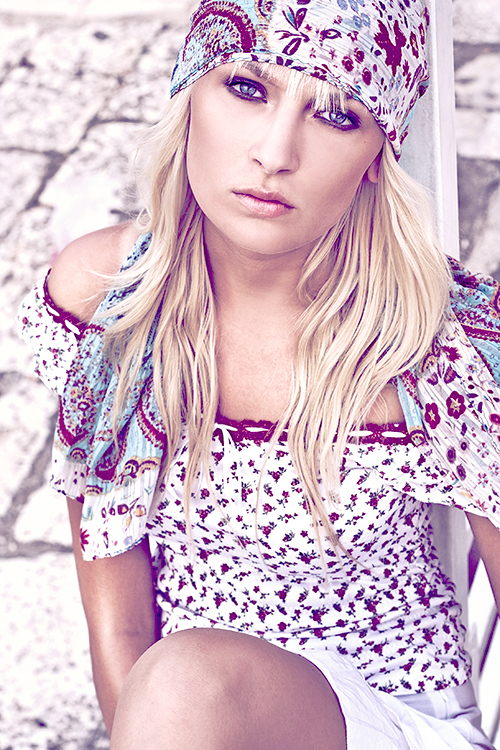
To achieve a realistic photo effect double-click the background layer to create Layer 0. Below this you can now add a paper texture layer.(Find 50 inspiring high-quality textures and 30 texture packs here)
Above the texture you create a Rounded Rectangle as a shape with 20px corner radius which will be filled with the image in the next step. Right click the photo layer and select Create Clipping Mask. Placing a slightly scratched texture on top can increase the effect of an aged look.
50’s color style
For a high-contrast and saturated color style typical for the 50’s copy the layer of your image via Ctrl+J and change blending mode from normal to Overlay. Now apply Filter > Blur >Gaussian Blur with a radius of 6 pixels. To control the strength of the filter increase or decrease the opacity of the layer you applied it to.
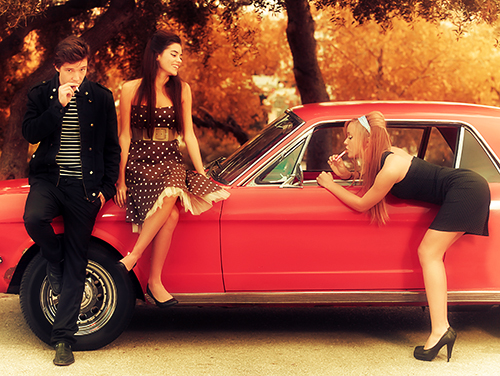
To achieve a realistic graininess create a new layer with short cut Shift key+Ctrl+N, change blending mode to Overlay and give it 50% grey fill. Afterwards go to Filter > Texture > Graininess with a density of 40, contrast 15 and grain type enlarged. Push Shift Key+Ctrl+U to desaturate the layer content.
For your retro vignetted look go to Layer > New Adjustment Layer > Levels. Begin with darkening the image by dragging the left and middle handle to the right. Then click on the layer mask and choose a big soft edged brush with black color. Paint over the areas that should not be affected by the darkening.
Textures help to get a slightly used look. You may use a paper texture with blending mode Screen and 20% opacity. For the frayed borders I created a separate layer and painted it white with a frayed brush set.
30’s color style
Images from the 30’s are often yellowed and worn out due to their age. Instead of painfully simulating all these years you could scan a real, old picture and use it as a background. Create another layer (Shift+Ctrl+N) on top and select a part of the middle of the image with help of the Polygon Lasso. This is your pasepartout. Fill it with a suitable colour via Edit > Filland go to Layer > Create Clipping Mask.
Insert a picture which is appropiate for this time above the layer. Create a Layer > New Adjustment Layer > Black & White and activate the Tint Checkbox for a sepia effect. This layer also gets a Clipping Mask. Simply hold Ctrl and click the intersection of both layers to do it right in the Layers Panel.
A stone texture caters for a bit of dust. I inserted it above the image, added a Clipping Mask, desaturated the texture via Image > Adjustments > Desaturate and changed blending mode to Overlay.

To put the finishing touches to the image create a new layer (Shift+Ctrl+N), fill it with a neutral grey, change blending mode to Overlay and set Fill to 50%. Follow this by Filter > Texture > Graininess with a density of 40, contrast 15 and grain type enlarged. Shift+Ctrl+U desaturates the layer content.
If you want to edit the whole picture press Shift+Ctrl+Alt+E. This blends all active layers into a new layer. In this example I adjusted the lighting conditions via Image > Adjustments > Shadow/Highlight . Only at the very end did I sharpen the picture a little.

You got some tricks of your own to share with us? Feel free to do so in the comments.