Be creative and professional!

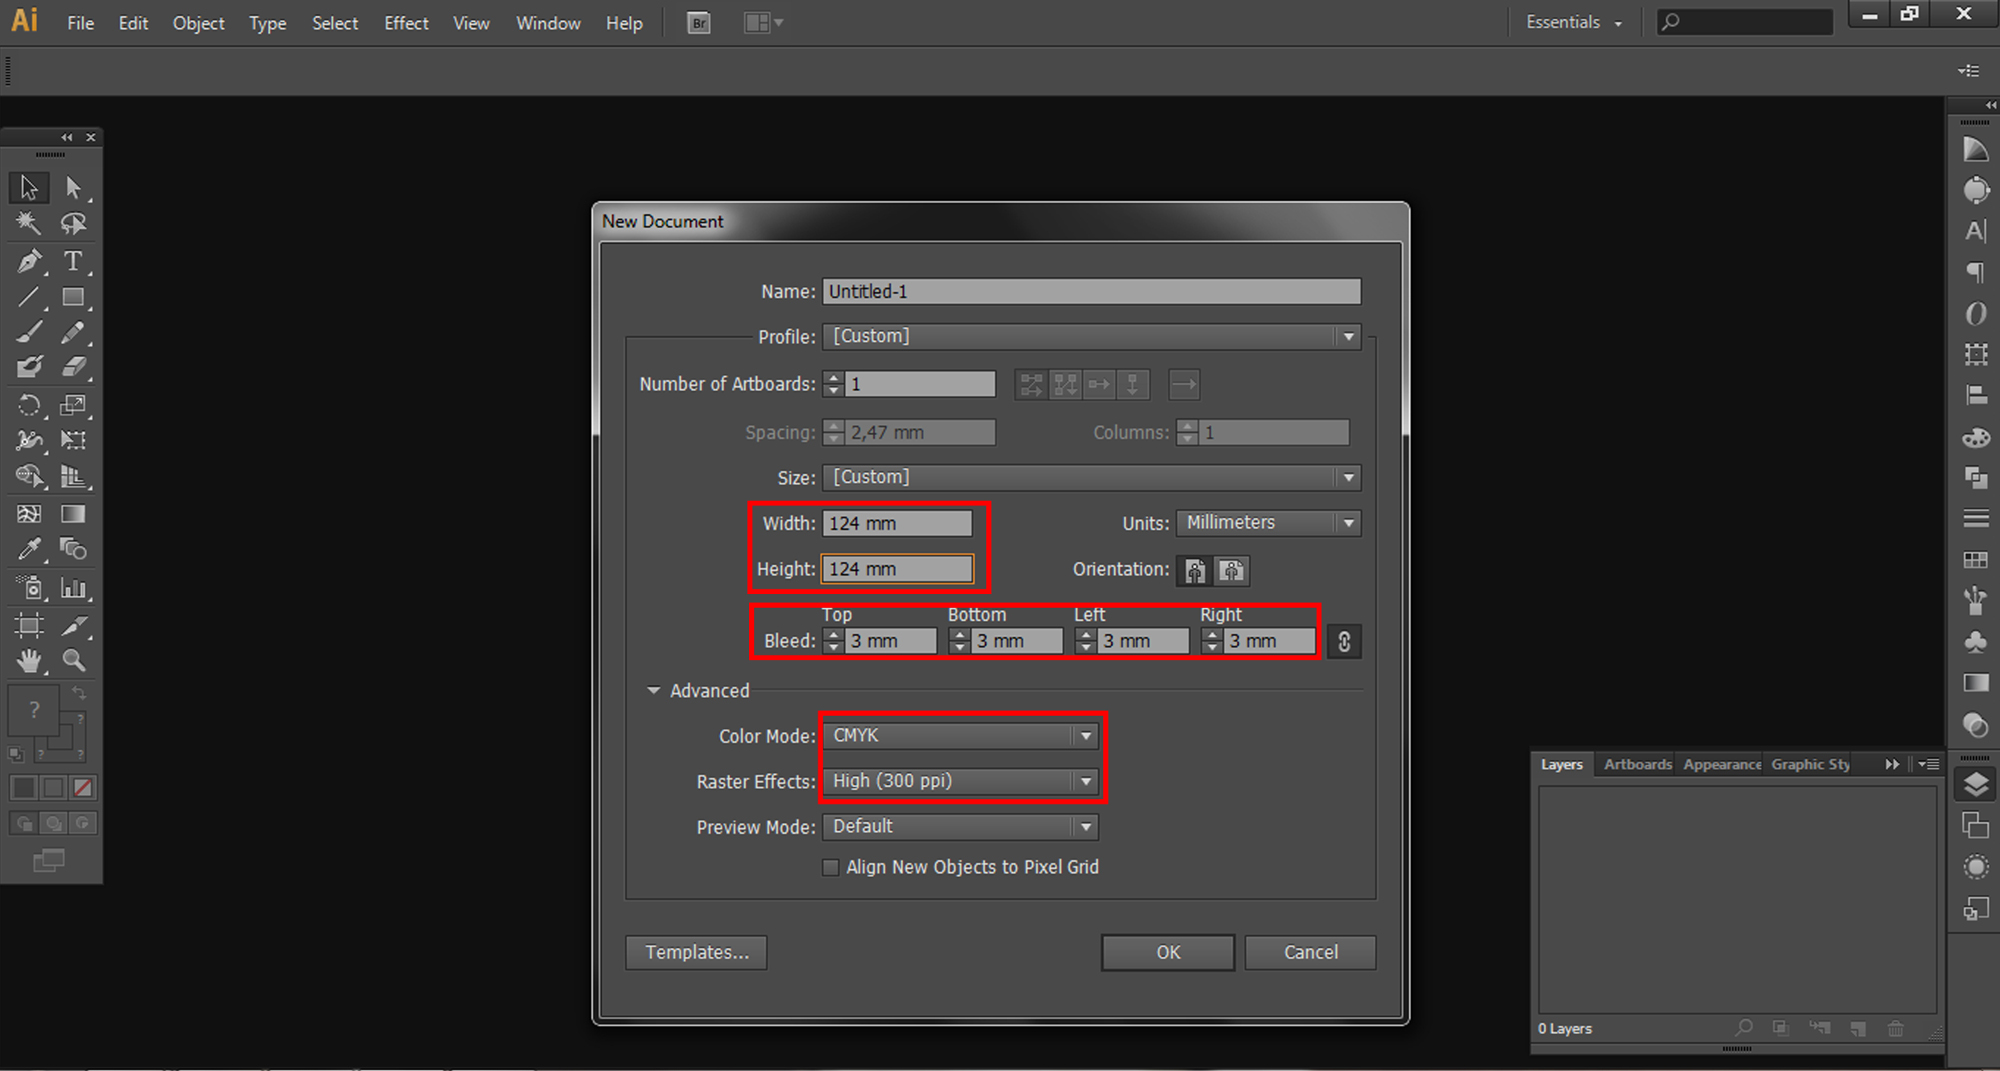
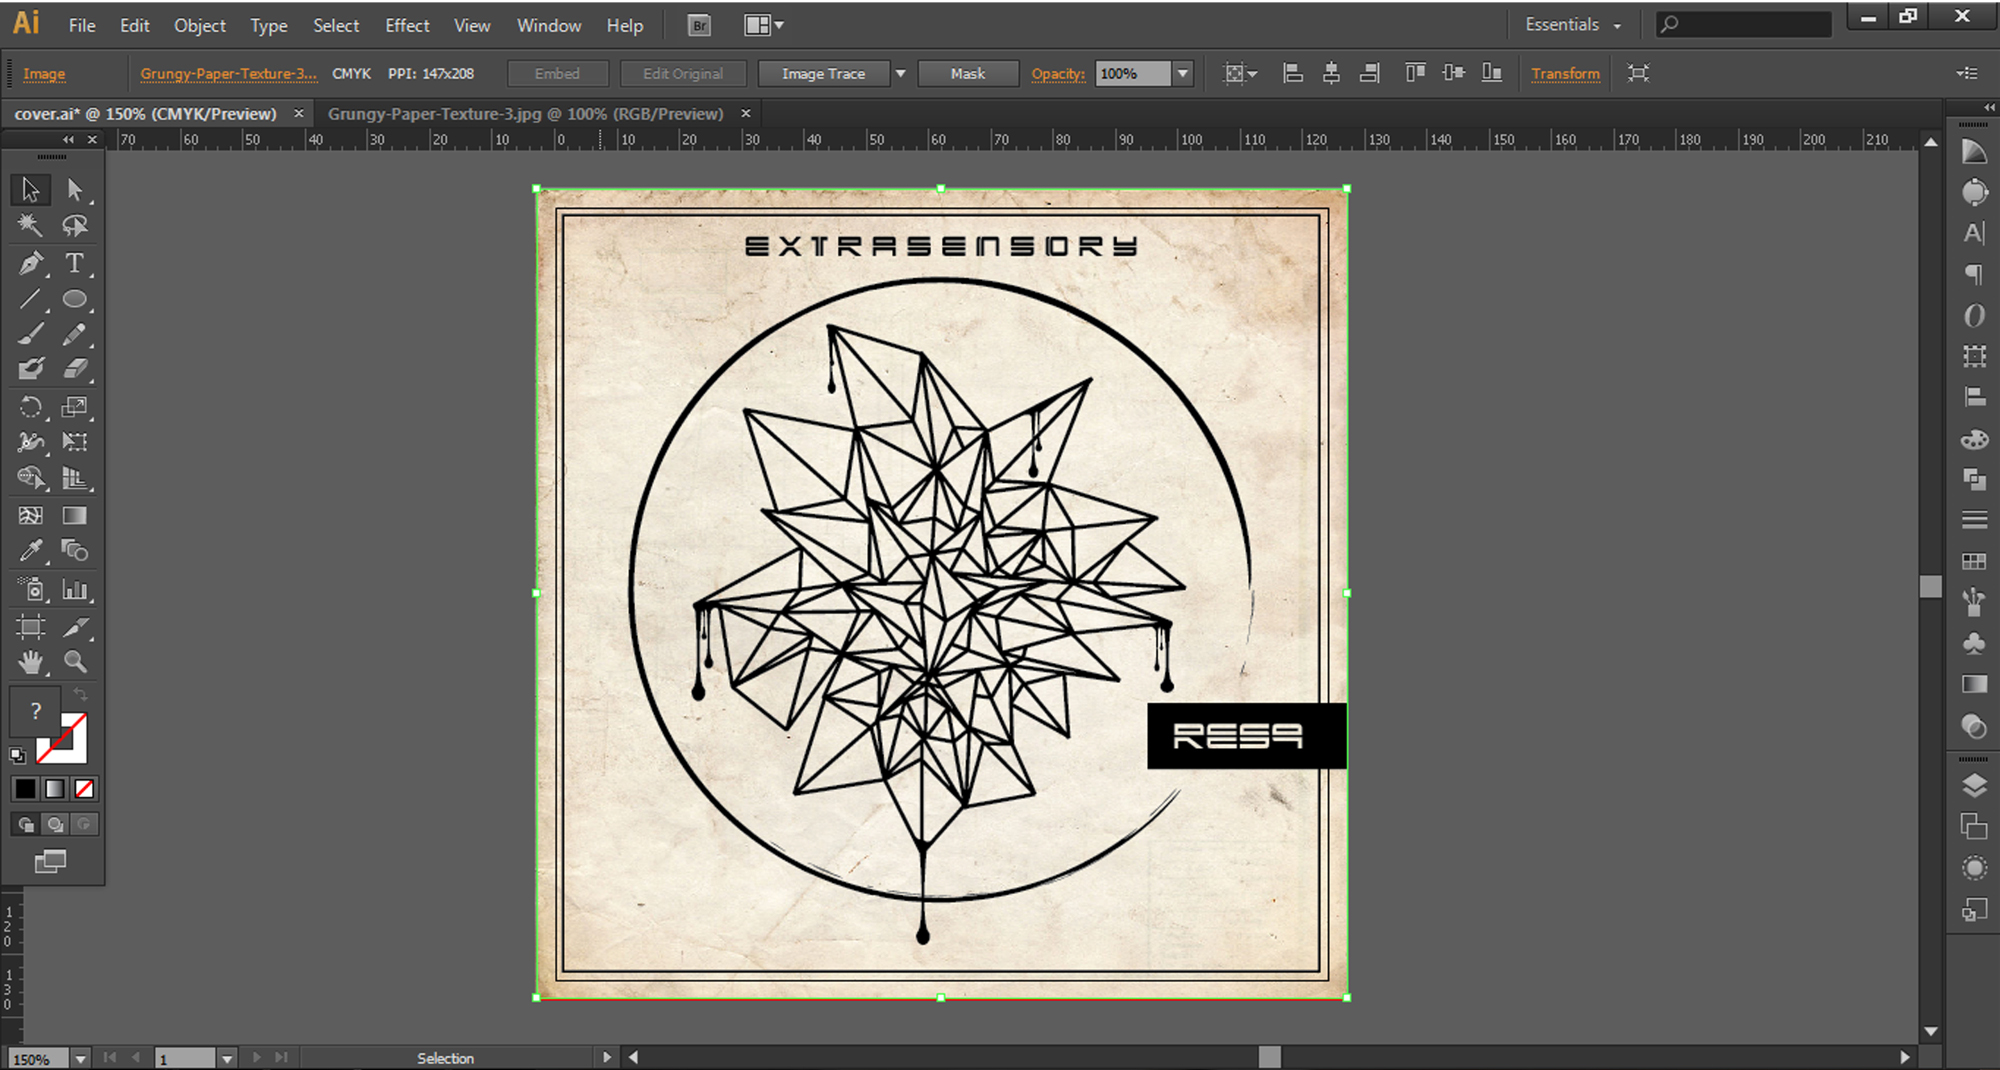
In this tutorial, we will show you how easy it is to make CD cover designs using Adobe Illustrator. We hope that you will enjoy making it and you will be pleased with the final result.
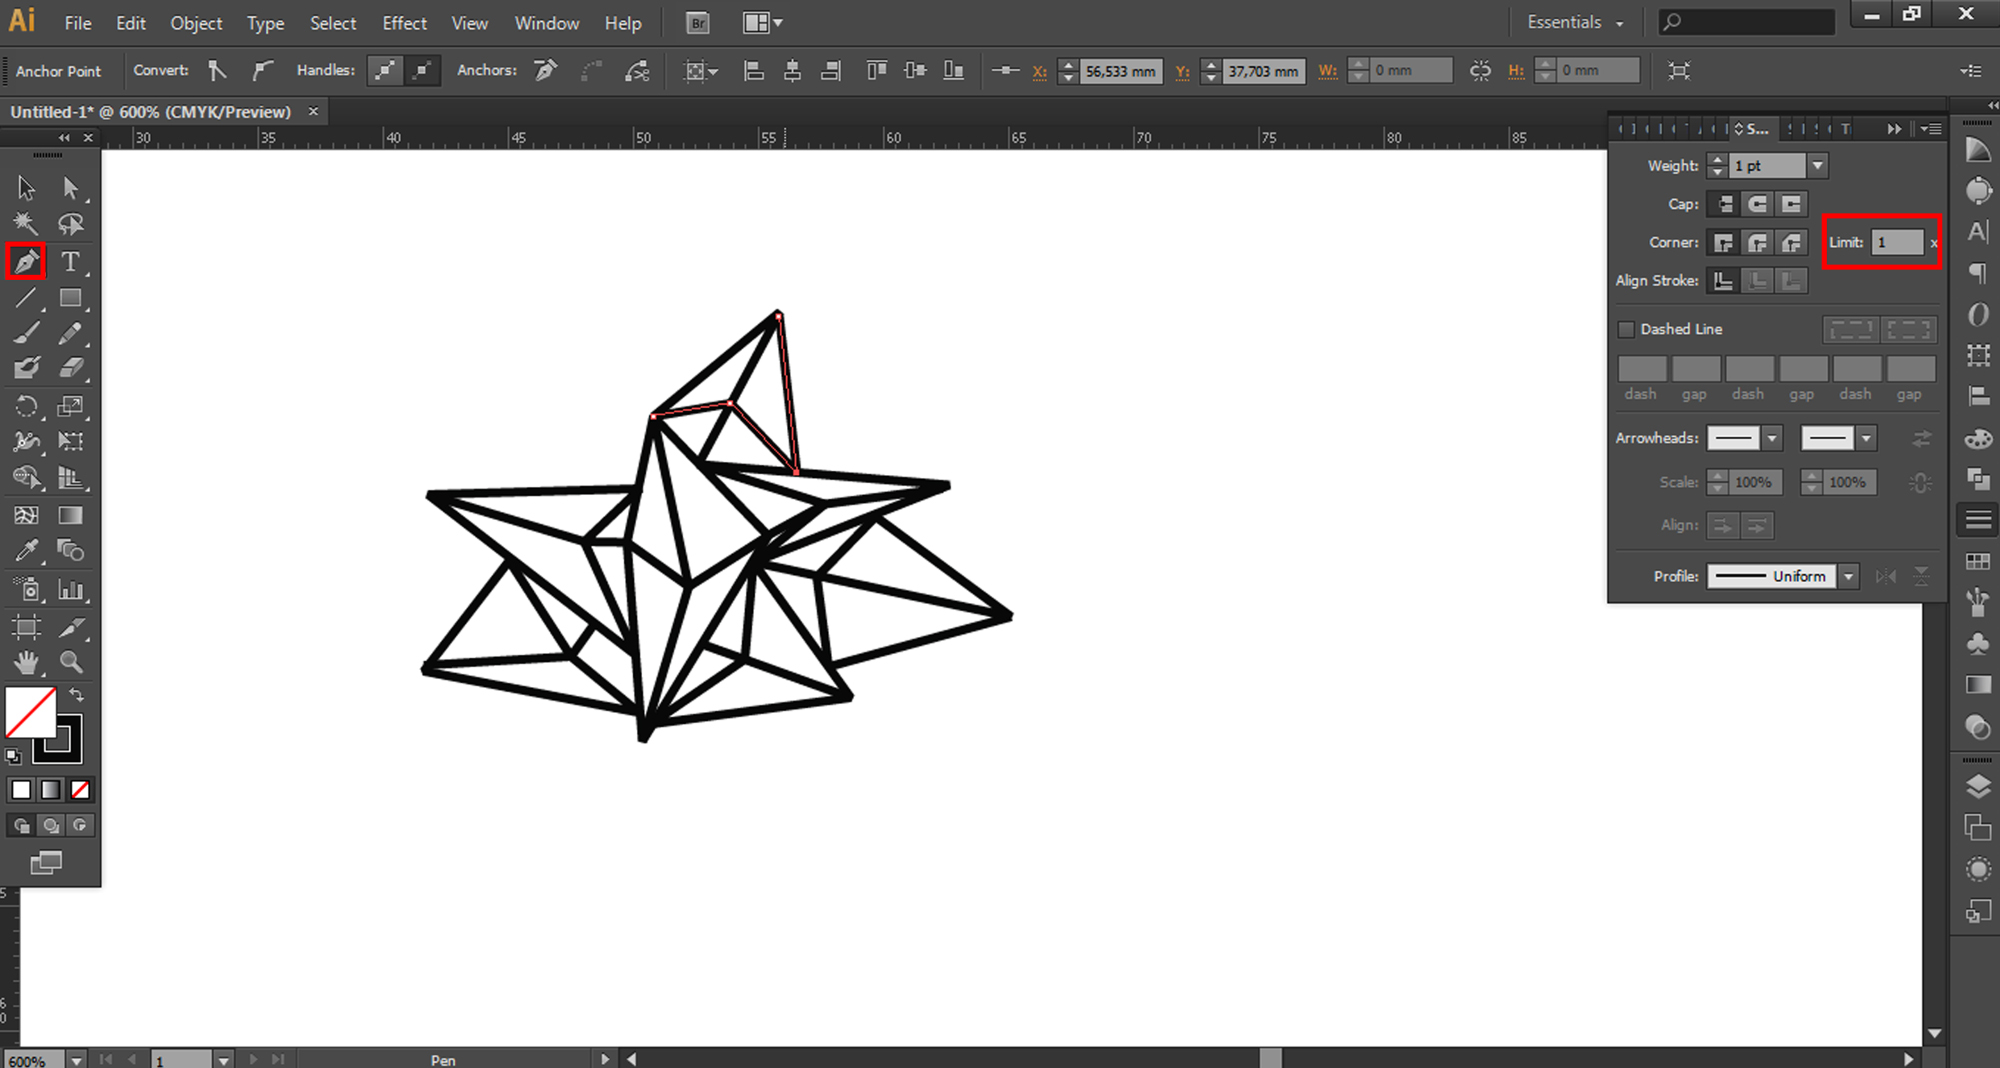
Then start drawing with the Pen tool but set the Limit of your stroke to 1pt (to see the Stroke box go to Window>Stroke). Play with the lines and make them however you like.
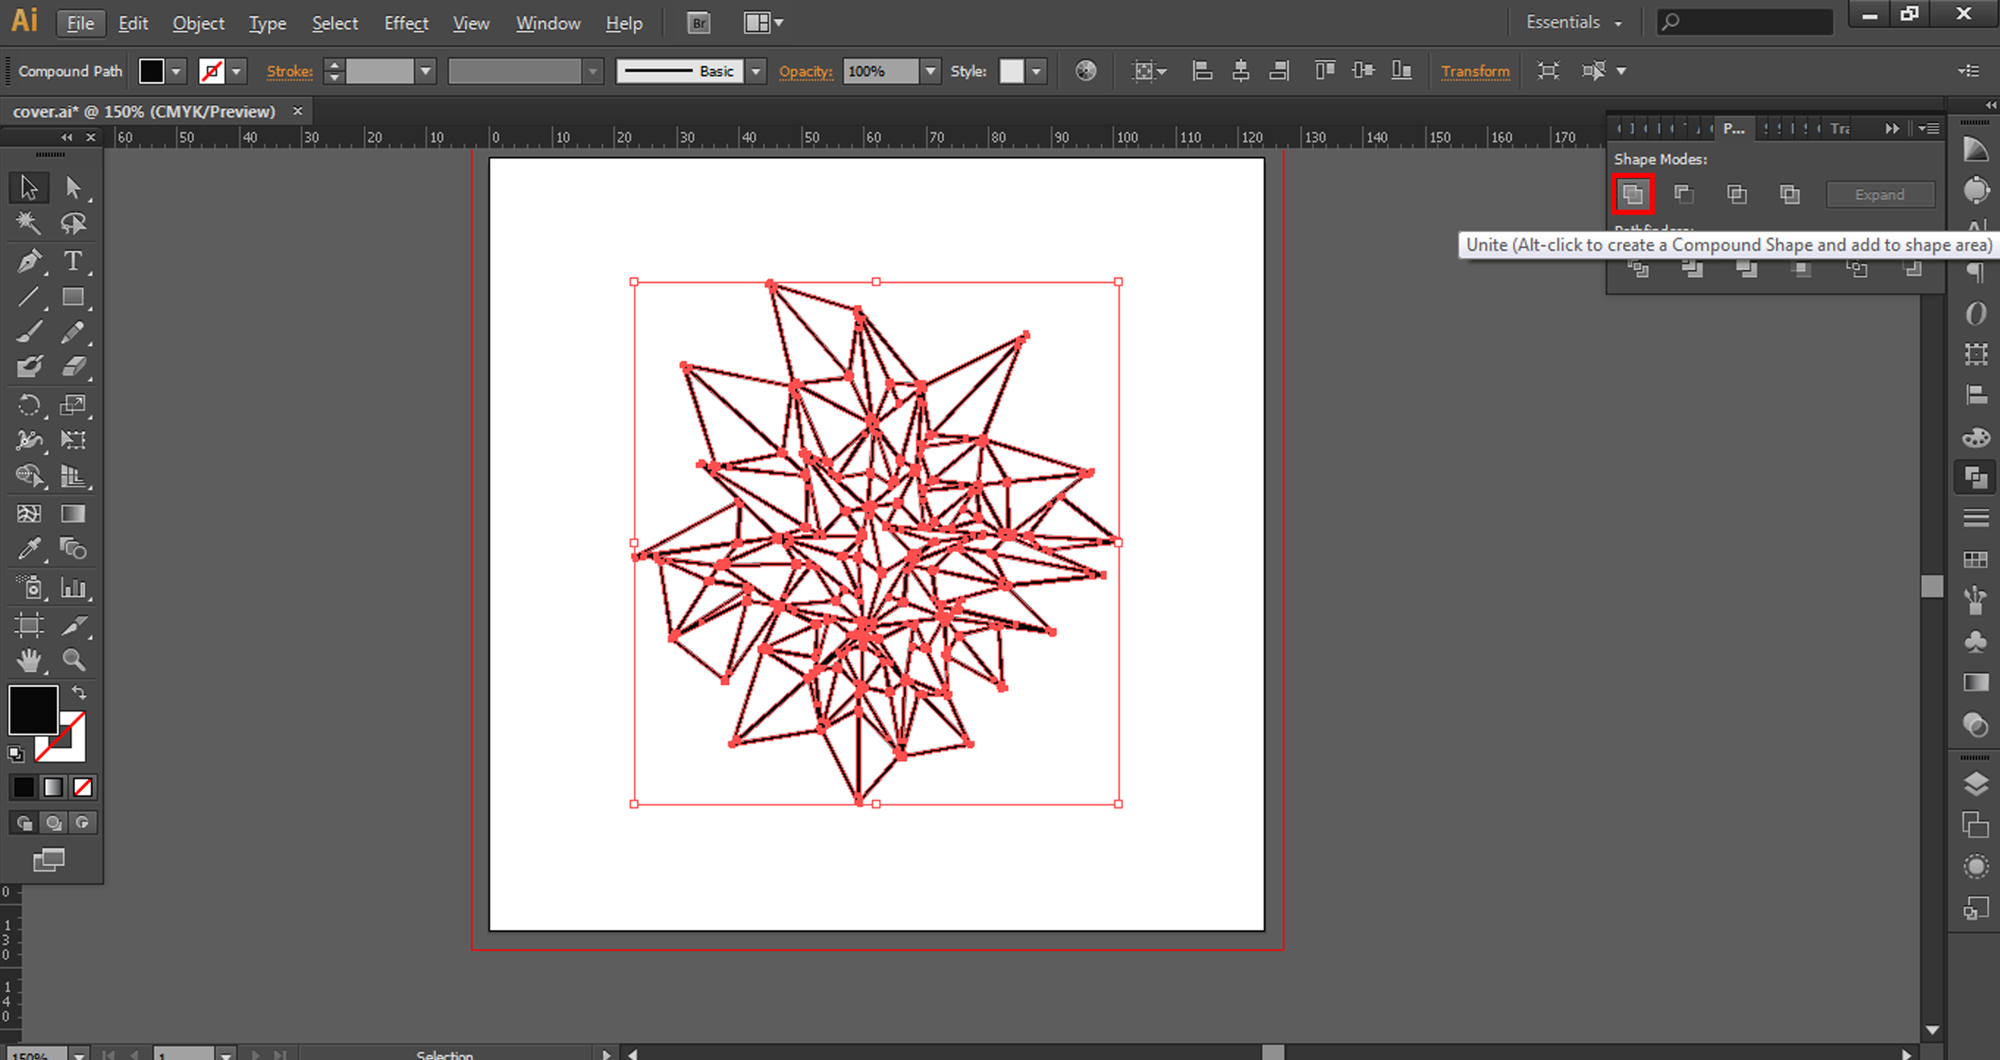
After you’re done, select all your drawing, go to Object>Expand, then Window>Pathfinder>Unite, to make everything in a clean shape.
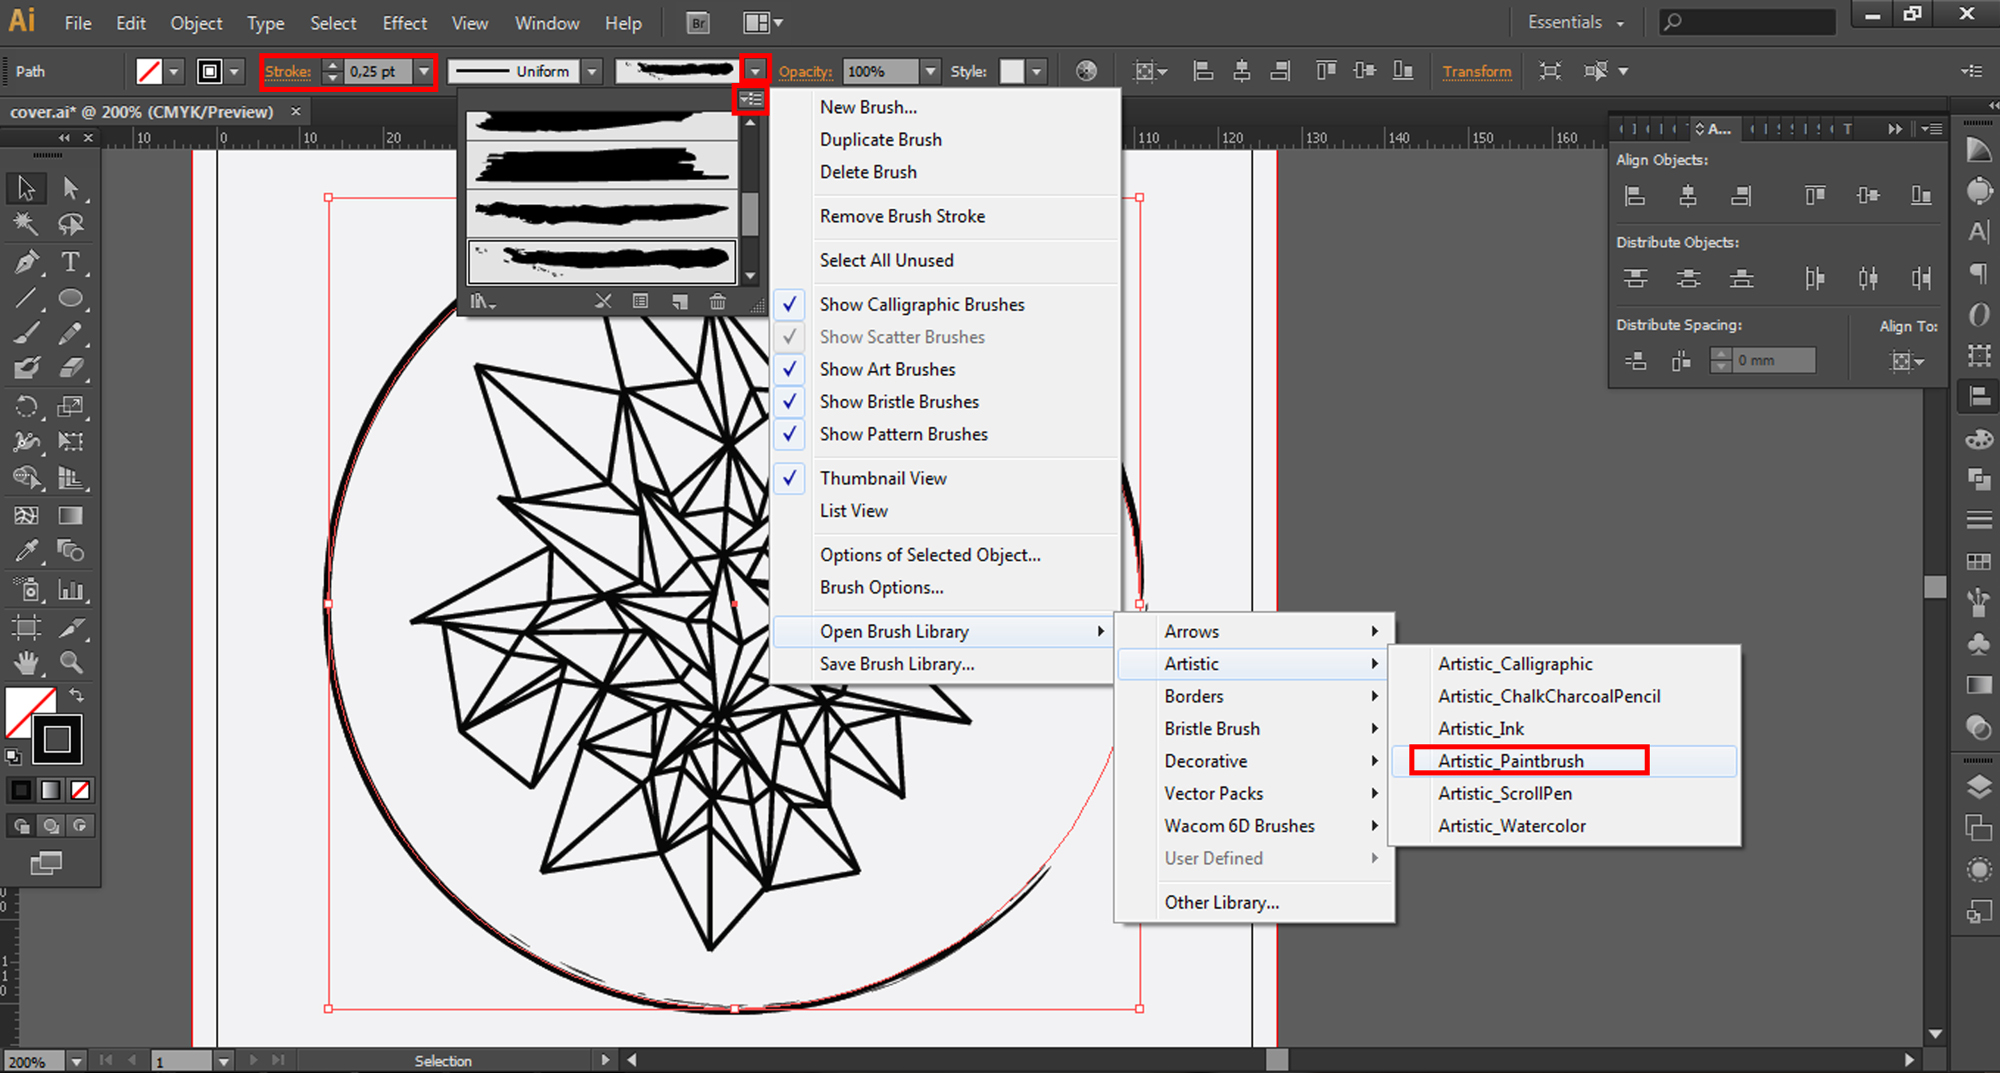
Next thing, make a circle with the Ellipse Tool, set the stroke to 0.25pt and click on the small arrow on the brush options to open your brush library. Then choose the brush style you like from Artistic Paintbrush. Make sure that you don’t have a filled color. Select what you made so far and Center everything (Window>Allign to open the Allign box).
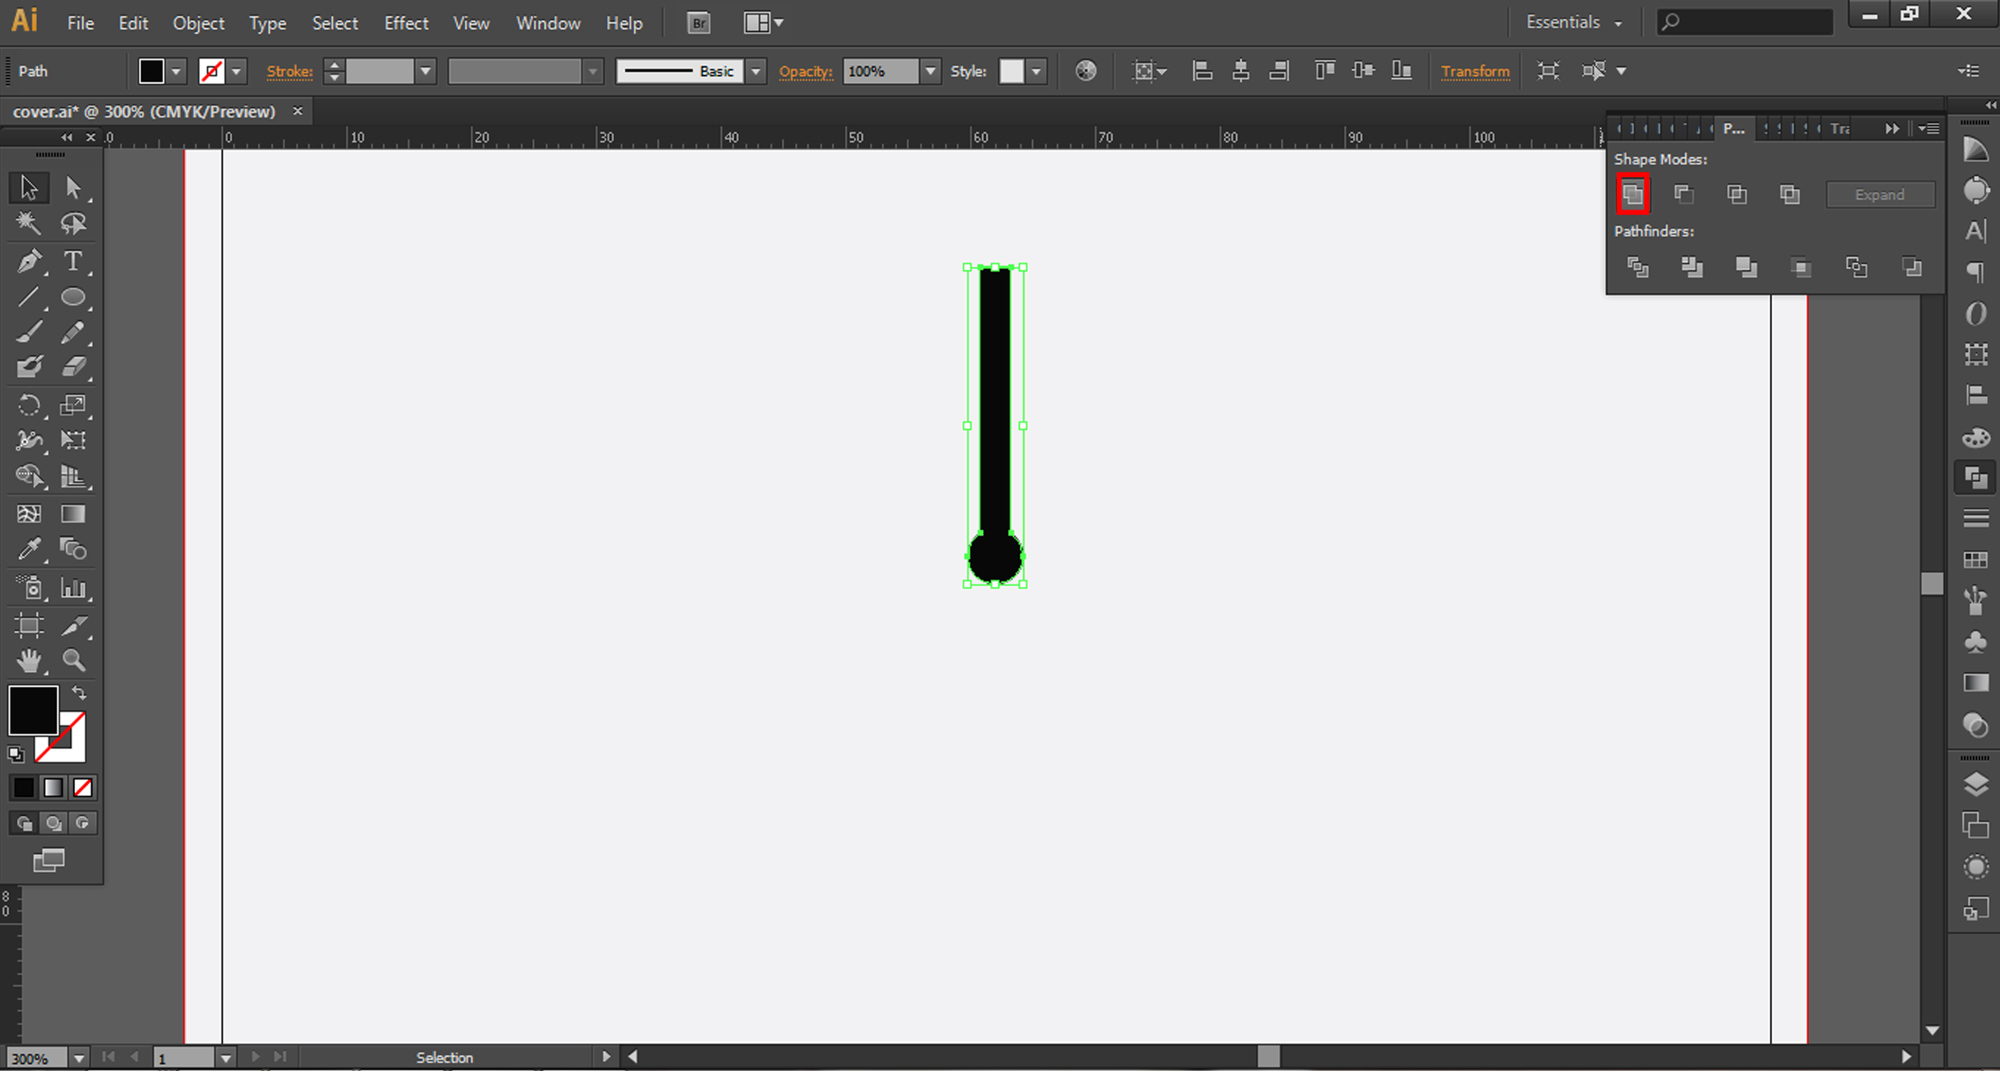
We want to make some drips for my shape. For that make a rectangle and a circle at the end of the rectangle. Select both of them and go to Pathfinder>Unite to make a clean shape.
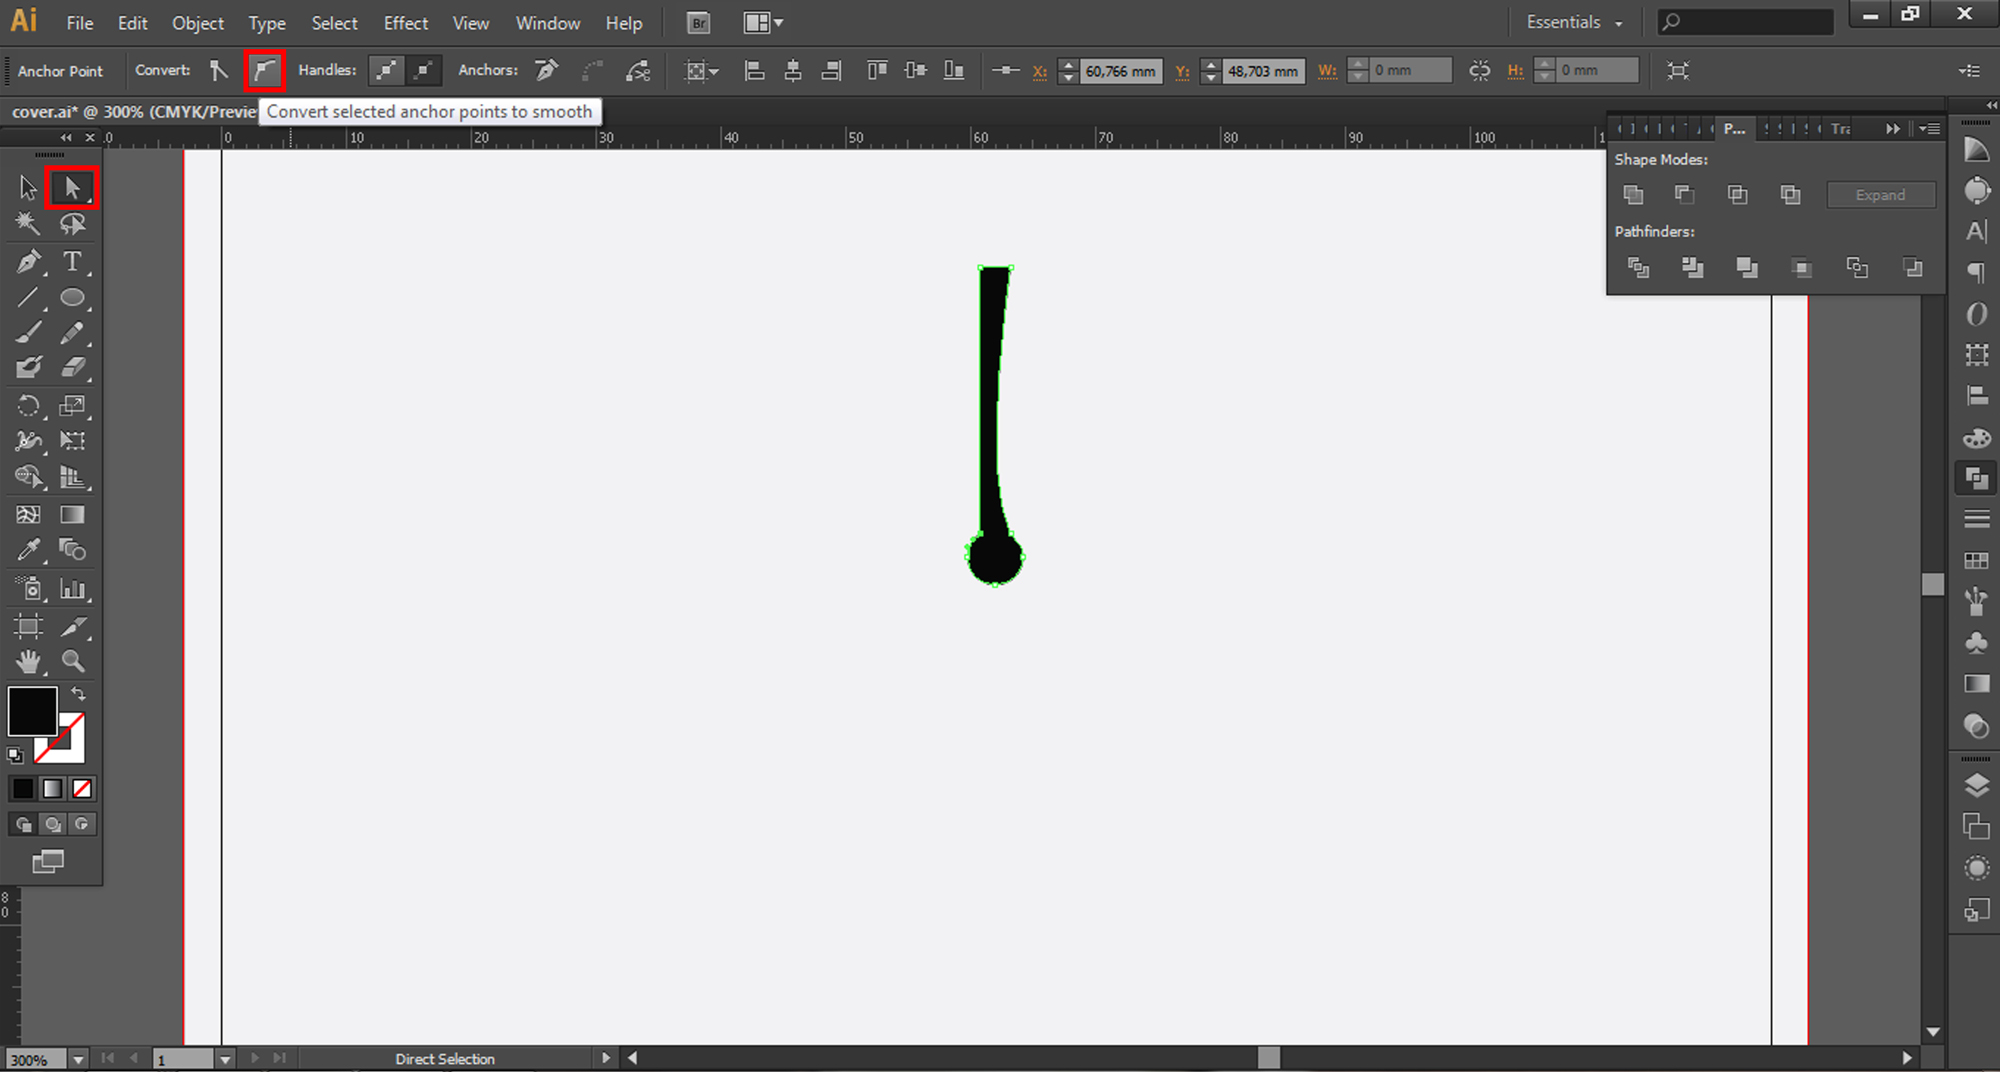
Then go to Direct selection Tool, click on Anchor point and then click on Convert selected anchor points to smooth button. Do the same for the left side and then adjust your anchor points to make them look realistic.
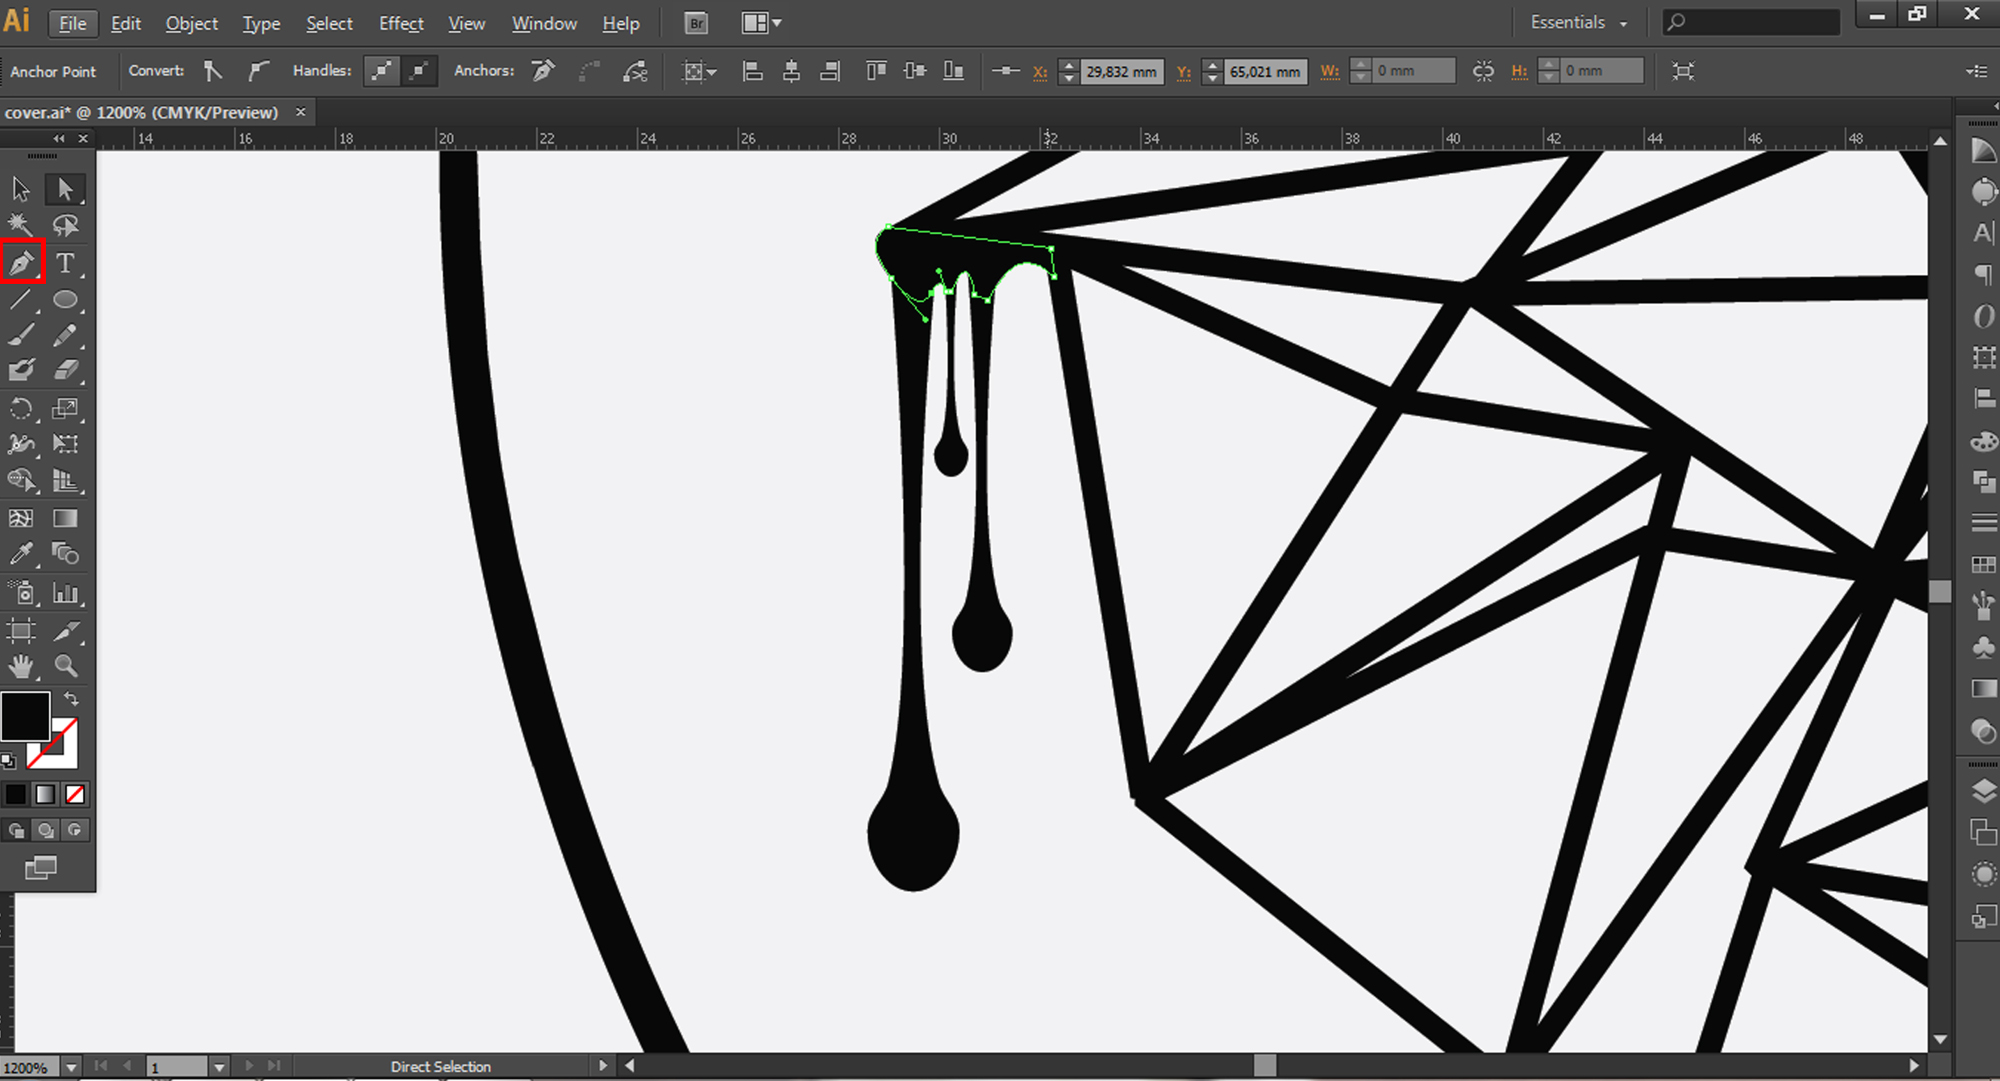
Select your Pen tool and make the drips look realistic.
Select everything and go to Pathfinder>Unite.
Prepare the space for the text, select your text and go to Object>Expand, then go to Pathfinder>Minus Front.
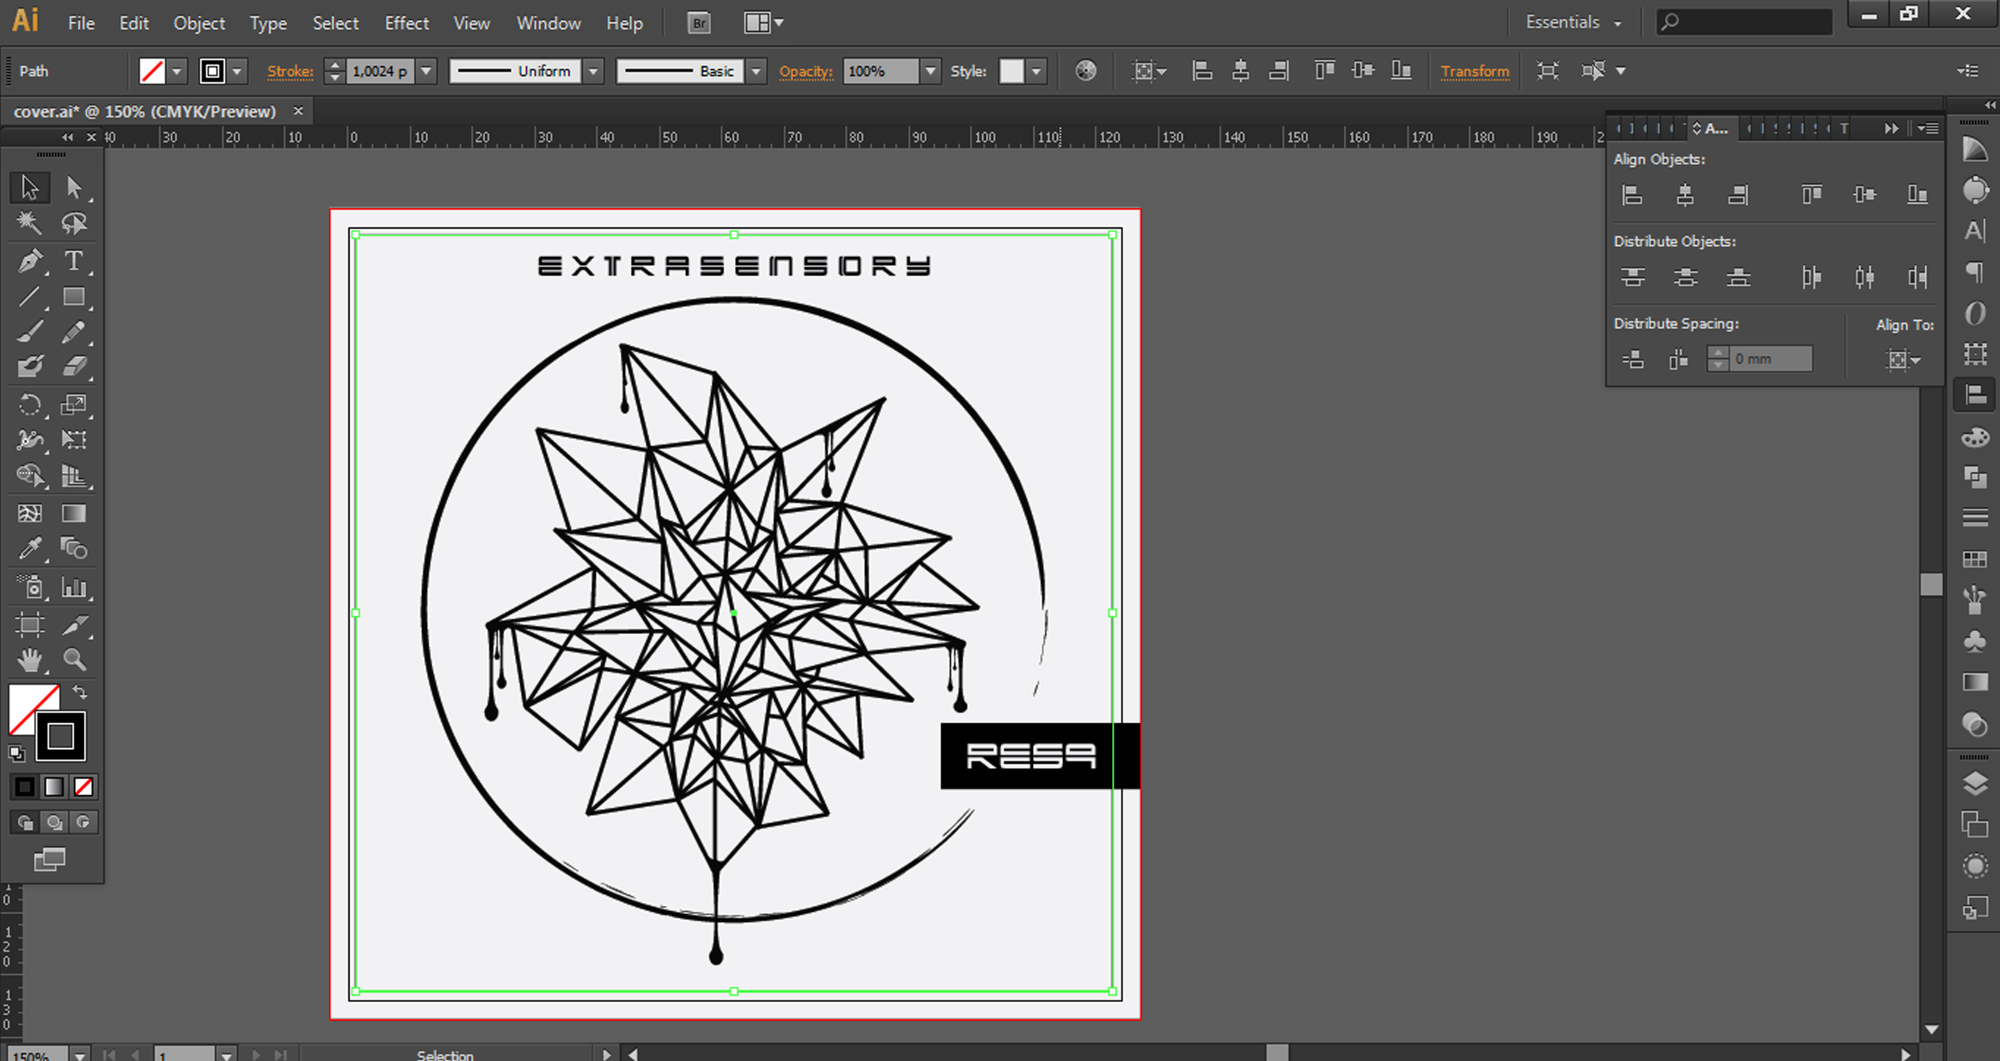
After that, type the rest of the text and create a frame for your artwork (1pt stroke square).
Select everything, go to Object>Expand Appearance, then Object>Expand and Pathfinder>Merge. After that, all you need to do is to go to Object>Path>Clean Up to make one clean shape. Now just by selecting what’s black, you can change the color if you want to.
Now choose a background for your artwork (I used a textured paper).
We would like to add some color to our artwork. For that, make shapes or play with letters or numbers which have a meaning to you.
That’s it. We hope you enjoyed this tutorial.
