Photoshop Tutorial
Alack, there lies more peril in thine eye
Than twenty of their swords: look thou but sweet,
And I am proof against their enmity.
– William Shakespeare, „Romeo and Juliet“
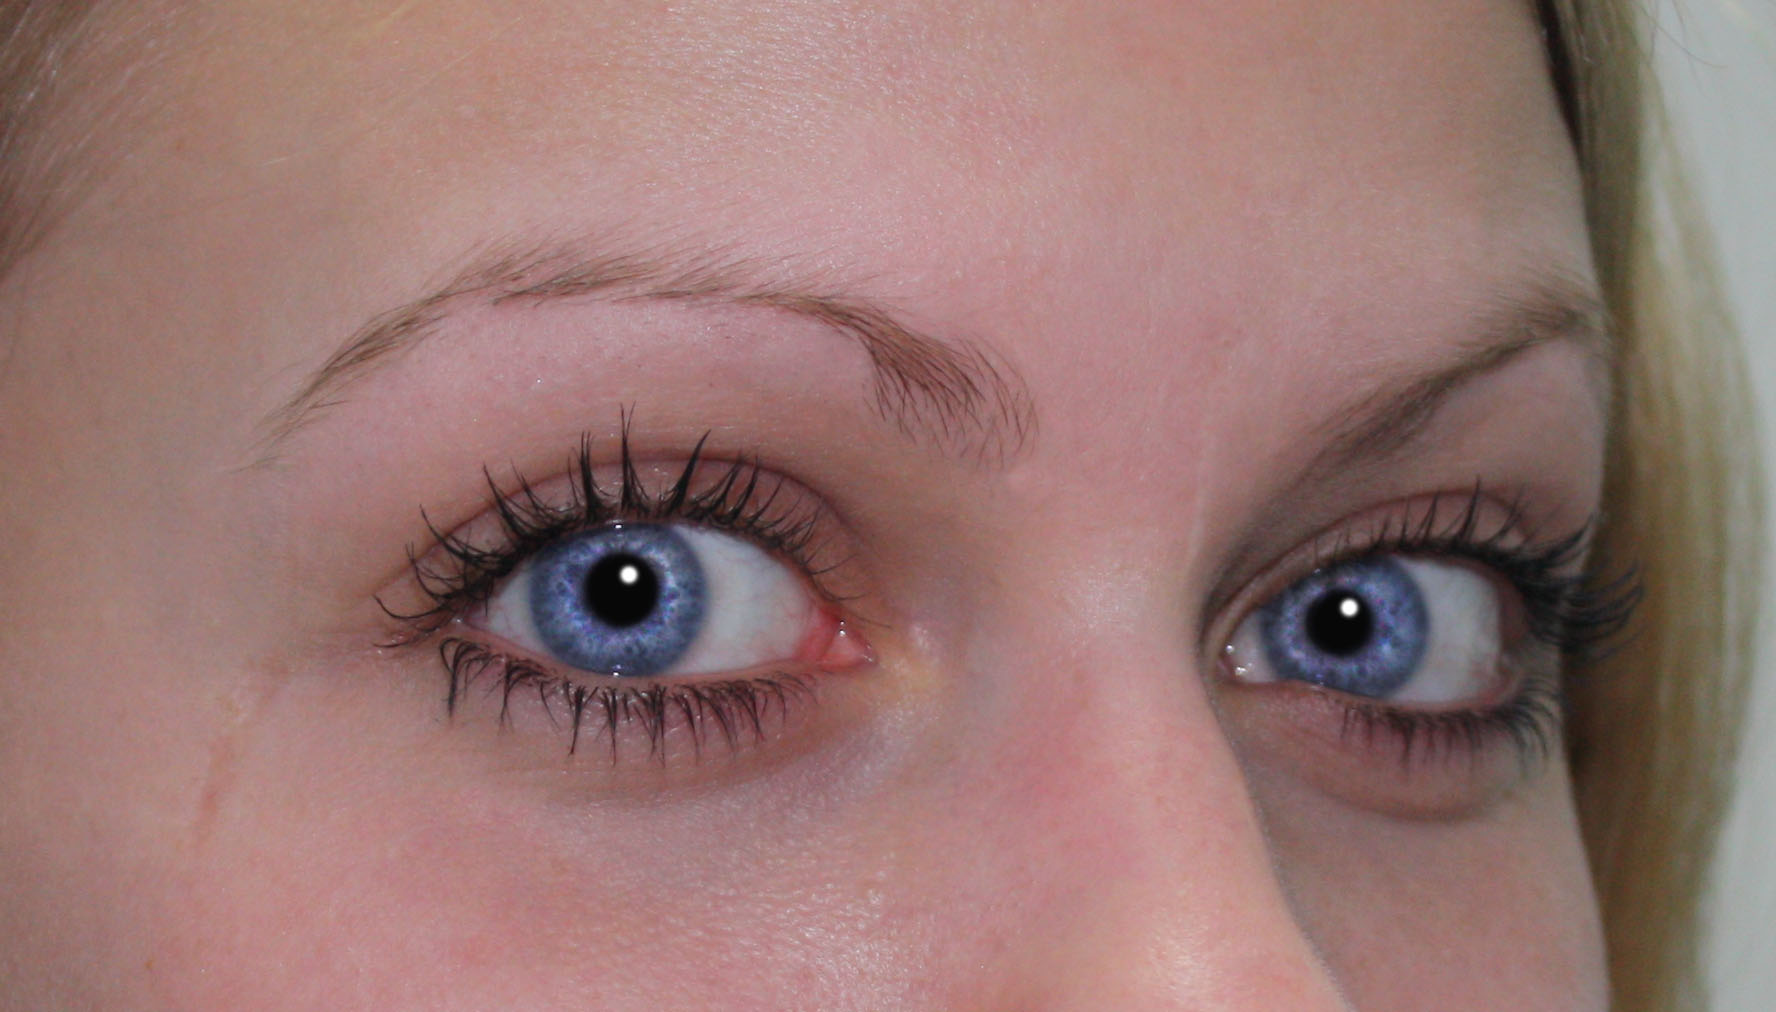
Quite some pathos in that introduction but it fits the topic of today: brilliant eyes. Face makeovers are often about removing wrinkles, improving skin and adjusting its tone. Way too often the only care eyes receive is the removal of the red-eye effect. Today we focus solely on the eyes and show you how to make them shine and draw the viewers attention. The tutorial is fairly easy and explained in only a few steps.
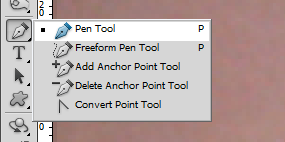
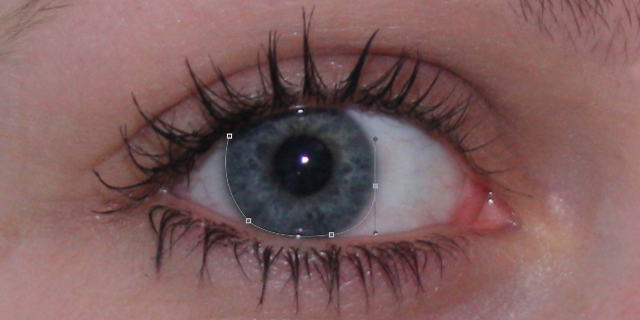
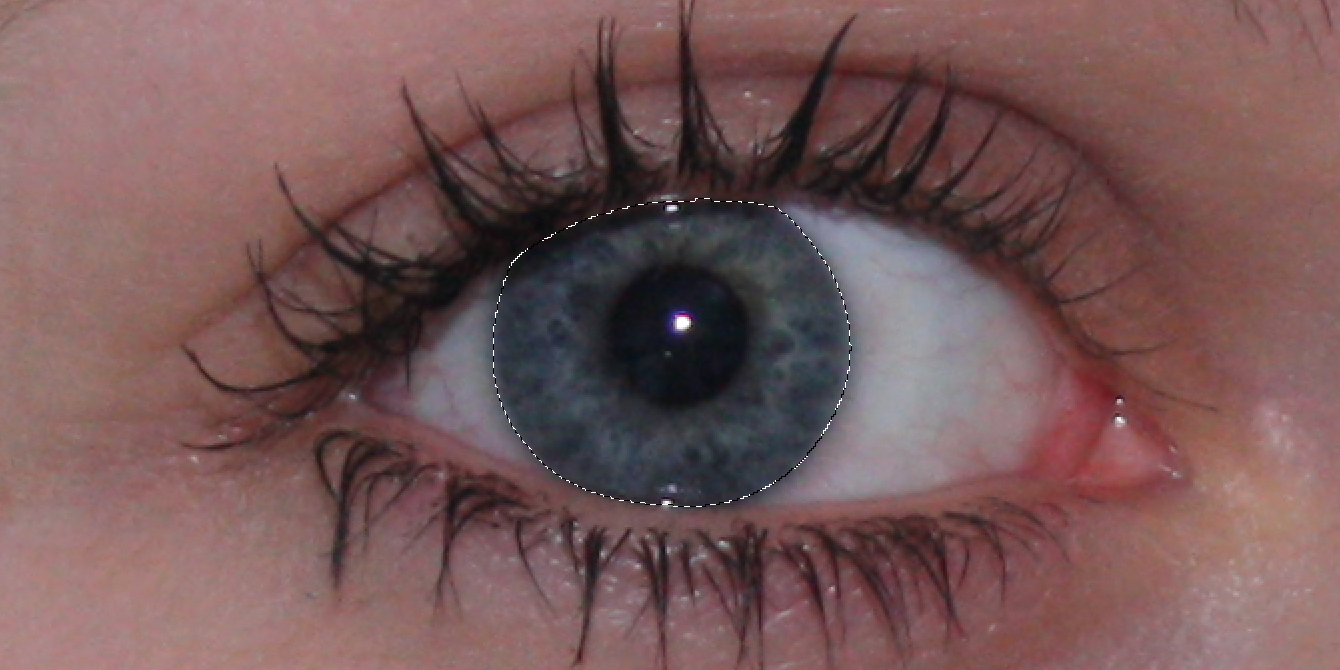
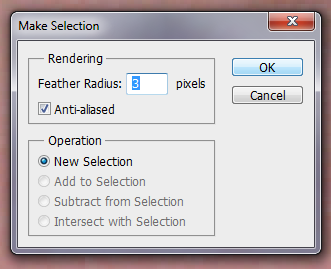
1. First you create a selection of the eyes. I prefer doing this by creating a path with the Pen Tool first. You can of course use whichever tool you like. When you use the pen tool right click the finished path to “Make selection”. Give it a feather radius of about 3 pixels to avoid hard edges. After that you do the same with the other eye. To learn more about paths and selection have a look at this article at photoshopessentials.com.
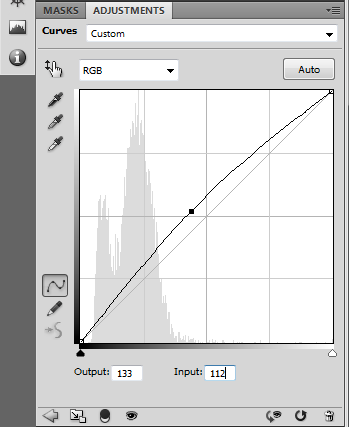
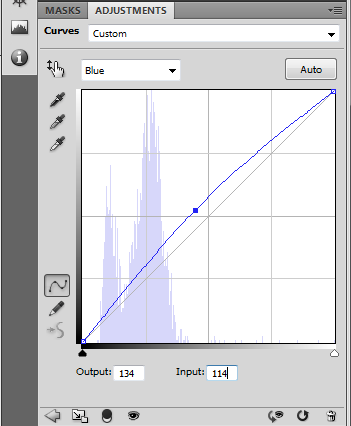
2. Next we lighten up the eyes a little bit and bring some colour in. Under Image > Adjustments you select Curves and adjust the RGB curve as shown above. Values depend a bit on the base image you are using. The resulting contrast shouldn’t be too extreme. Afterwards you switch to the blue curve in the same panel and make the curve about similar to the first one. With Preview checked you directly see the results of your work. Try around and click OK when you are satisfied with the adjustment.

3. For the next step it’s recommended to zoom in on the eye. Select the Dodge Tool and adjust the brush size so you can work the inner iris area – 20 pixels in our case. Select Highlights in the tool options and set exposure to about 30%. Go around the pupil and lighten up the iris a little. If the effect is too strong reduce exposure to about 10%.
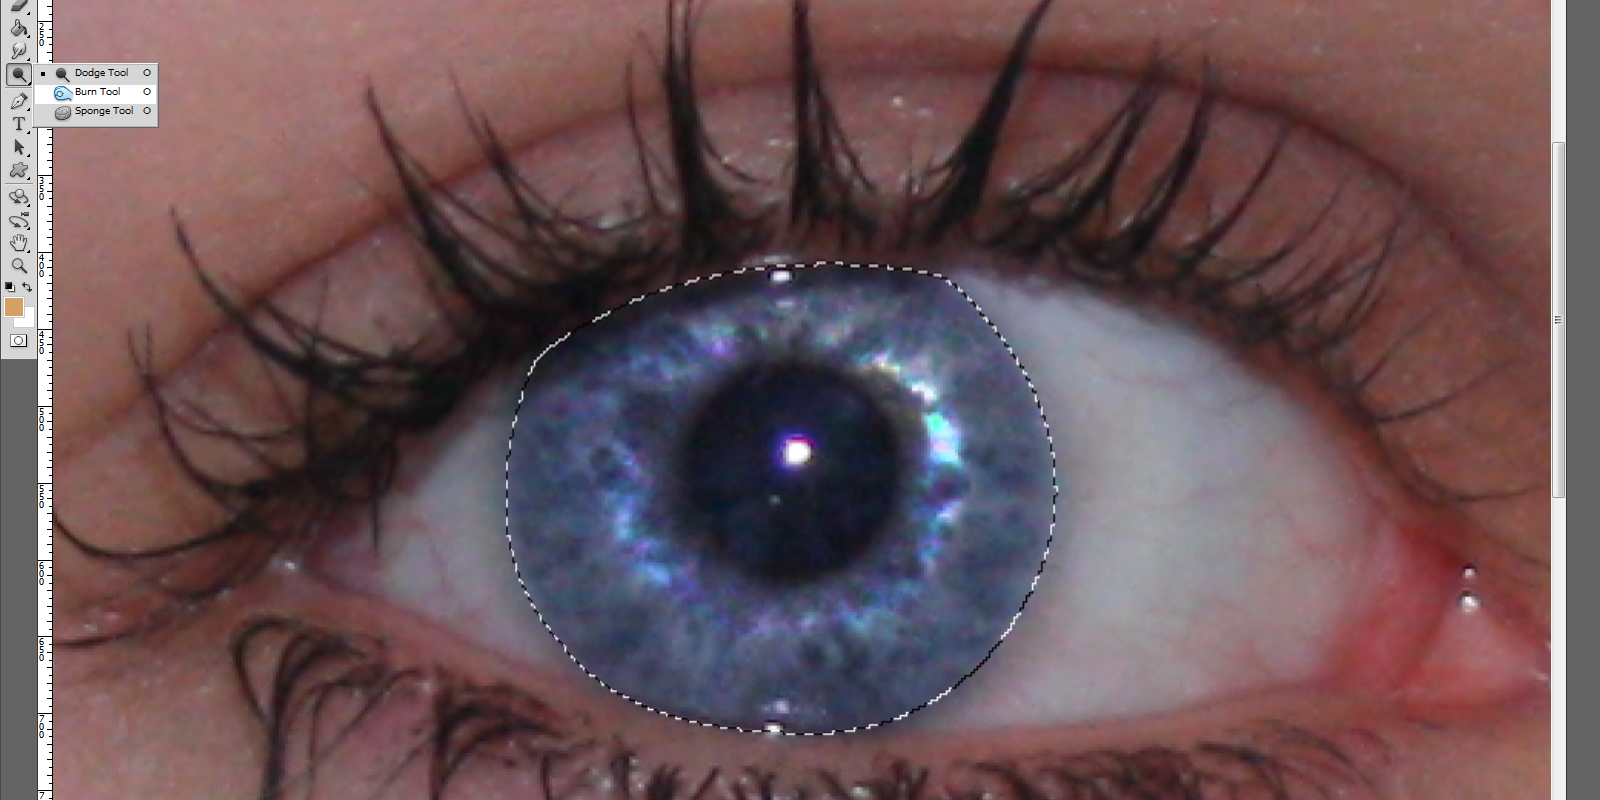
4. Now you take the Burn Tool, increase the radius a little and bring exposure to 50% with midtones selected. With these settings you follow the outline of the iris and make it a little bit darker to receive a nice contrast between the two iris areas.

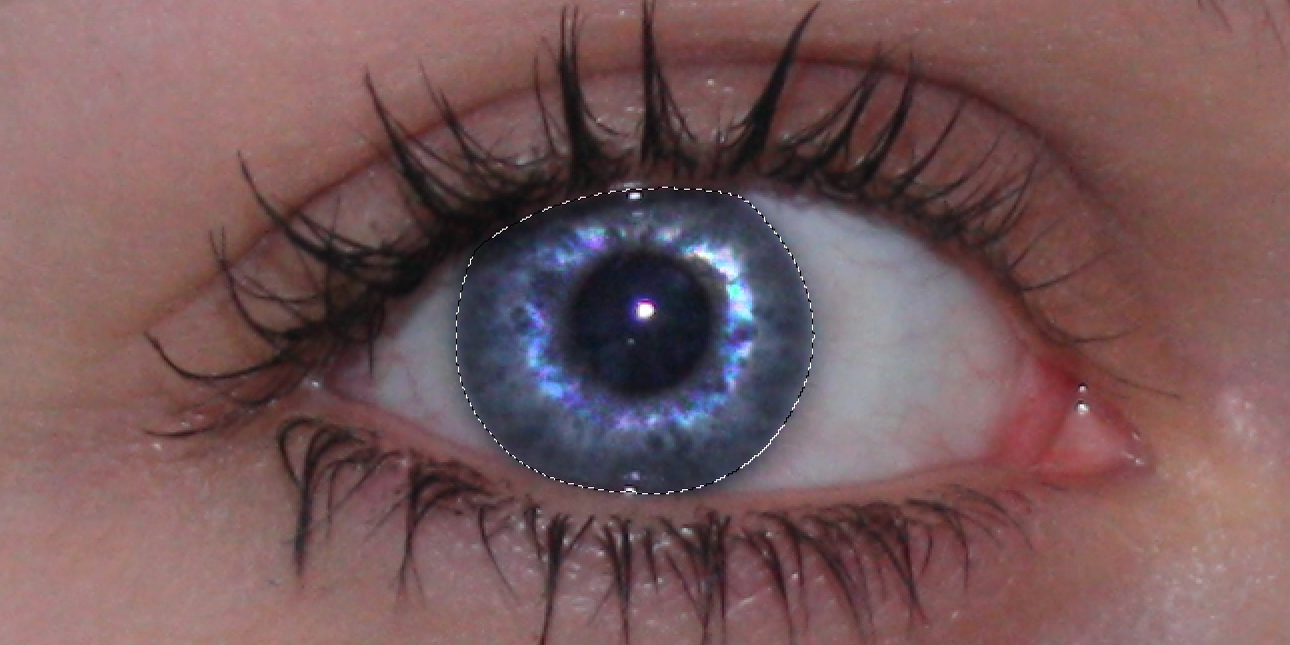
5. Right now the pupil looks a bit bland. The fifth step is about changing that easily. Use the Brush Tool with foreground colour set to black and size adjusted to the pupil. With hardness at about 50% you paint a new pupil. Change the foreground colour to white, reduce brush size and set a light reflection point. It’s usually best to keep it close to where the original reflection was.
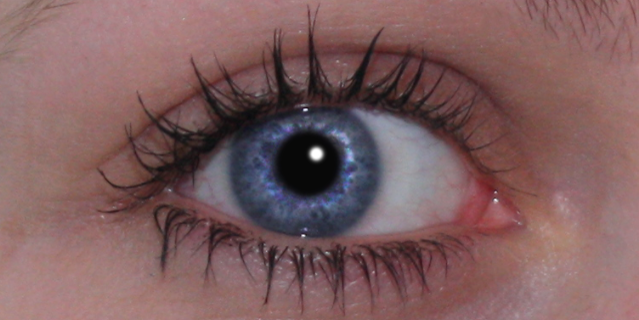
Done – the eyes are positively beaming now! :)