Content Aware Filling
In this Photoshop CS5 tutorial I will introduce a very useful function of the latest Photoshop version. Content aware filling is completely new and extremely useful when it comes to removing people or objects from pictures. In the following I’ll show you how it works, how you get the best out of it and what the limitations are.

Technically you could try the tool with any object in any picture. Results, however, may vary greatly. Non-uniform backgrounds work best while strong geometric shapes tend to cause problems. In this picture we remove the flamingo from a very uneven background.
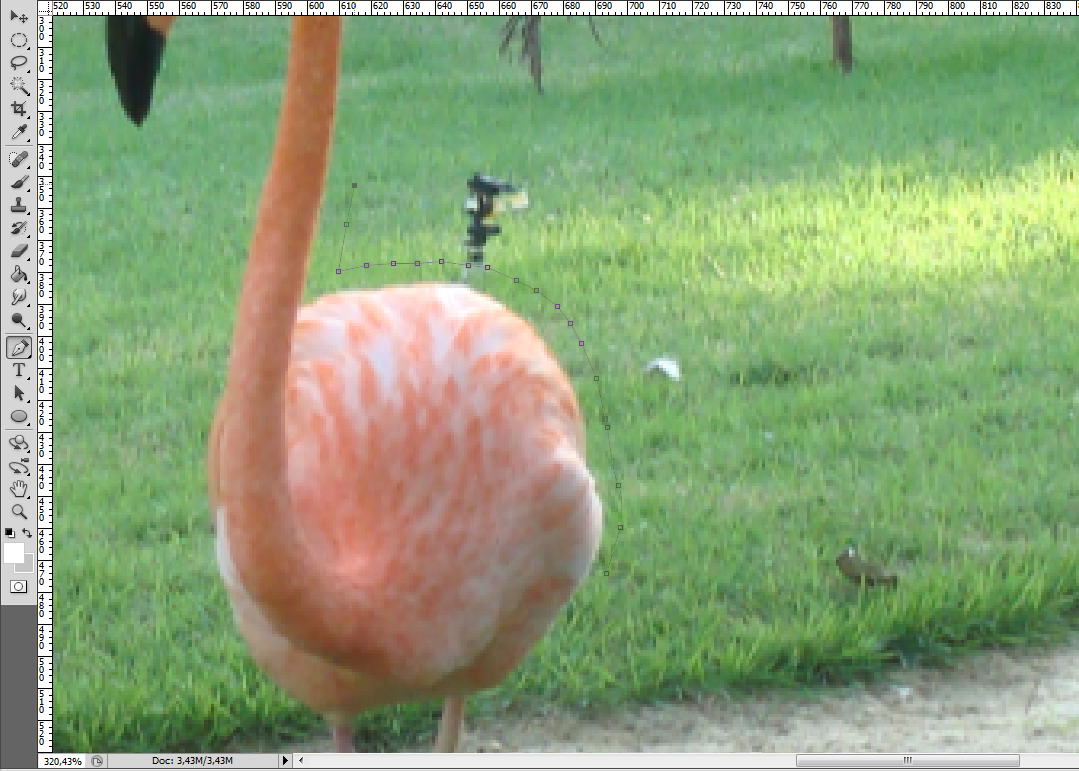
First, you of course need to select the object you wish to remove. In our case I use the „Pen Tool“ to create a path, which I convert later on.

Don’t be overly precise in selecting your object. You get better results when you include a bit of background with your selection. Thus you make sure that every part of the object is selected.


When you closed the path around the object to be removed you create a selection by right clicking the path and choosing “Make Selection…” in the context menu.

In the following dialog you set the radius to 0px and leave all other settings in the default state you see in the screenshot.


With your selection active you click “Edit” and choose “Fill …”.

And that’s where the magic begins. In the dialog box you keep “Content aware“ selected as this is what we plan to do after all. :) Blending mode should be set to „Normal“ with 100% opacity.

Photoshop now starts to work its magic. Depending on the size of your picture and your hardware this may take a little while. Once Photoshop is done and the object removed you can undo the selection with “Cmd + d” on your Mac, “Ctrl + d” on a PC or by opening the “Selection” menu in the top bar and choosing “Deselect”.
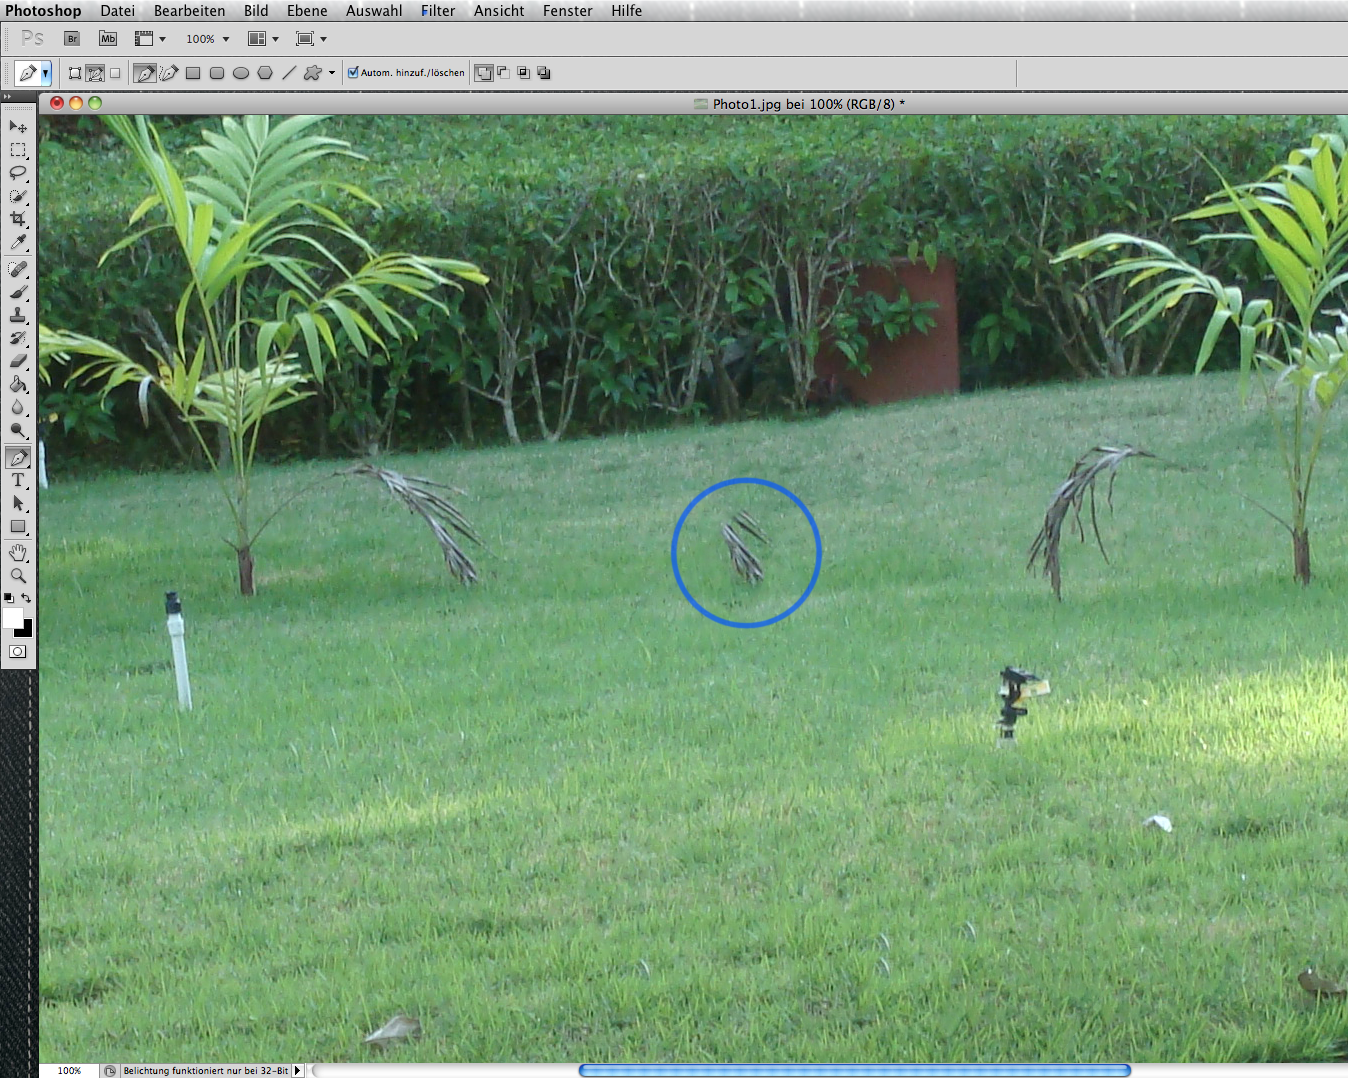
This picture shows the limitations I told you about in the beginning. My selection came too close to the palm tree and Photoshop interpreted it as part of the surrounding area (which it technically is), using it to replace the original flamingo. This, however, isn’t too much of a problem. We will remove the wrong piece in the next few steps.

You simply select mistakenly placed image elements as we did with the flamingo (in this case the “Elliptical Marquee Tool” would do the job as well) and apply content aware fill as described above.

Photoshop replaces the wrong image element, you deselect and that’s it.

MO