Rebuilding the analogue studio effect
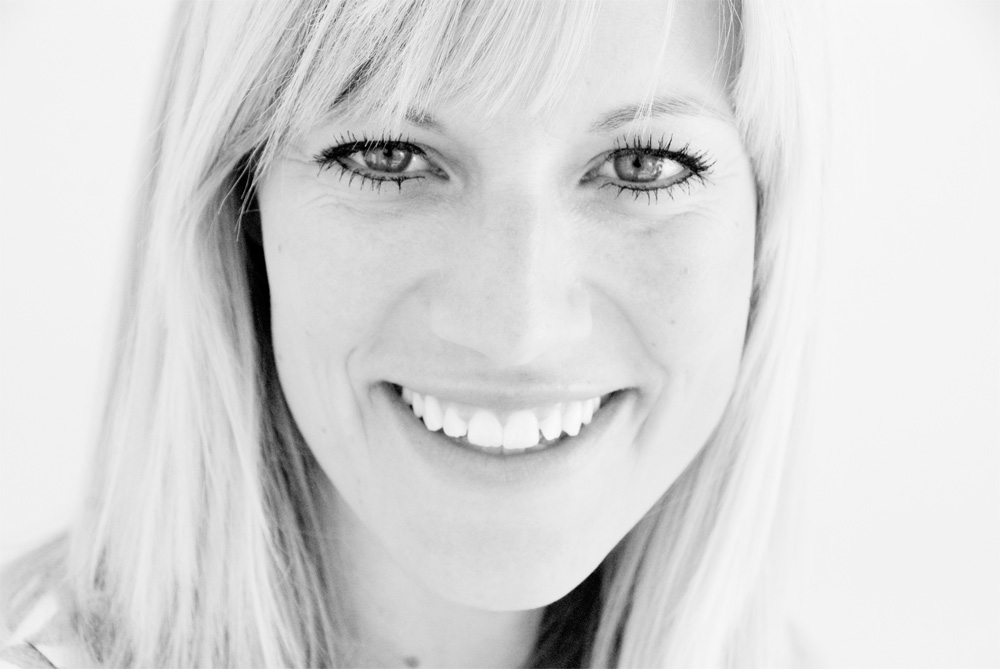
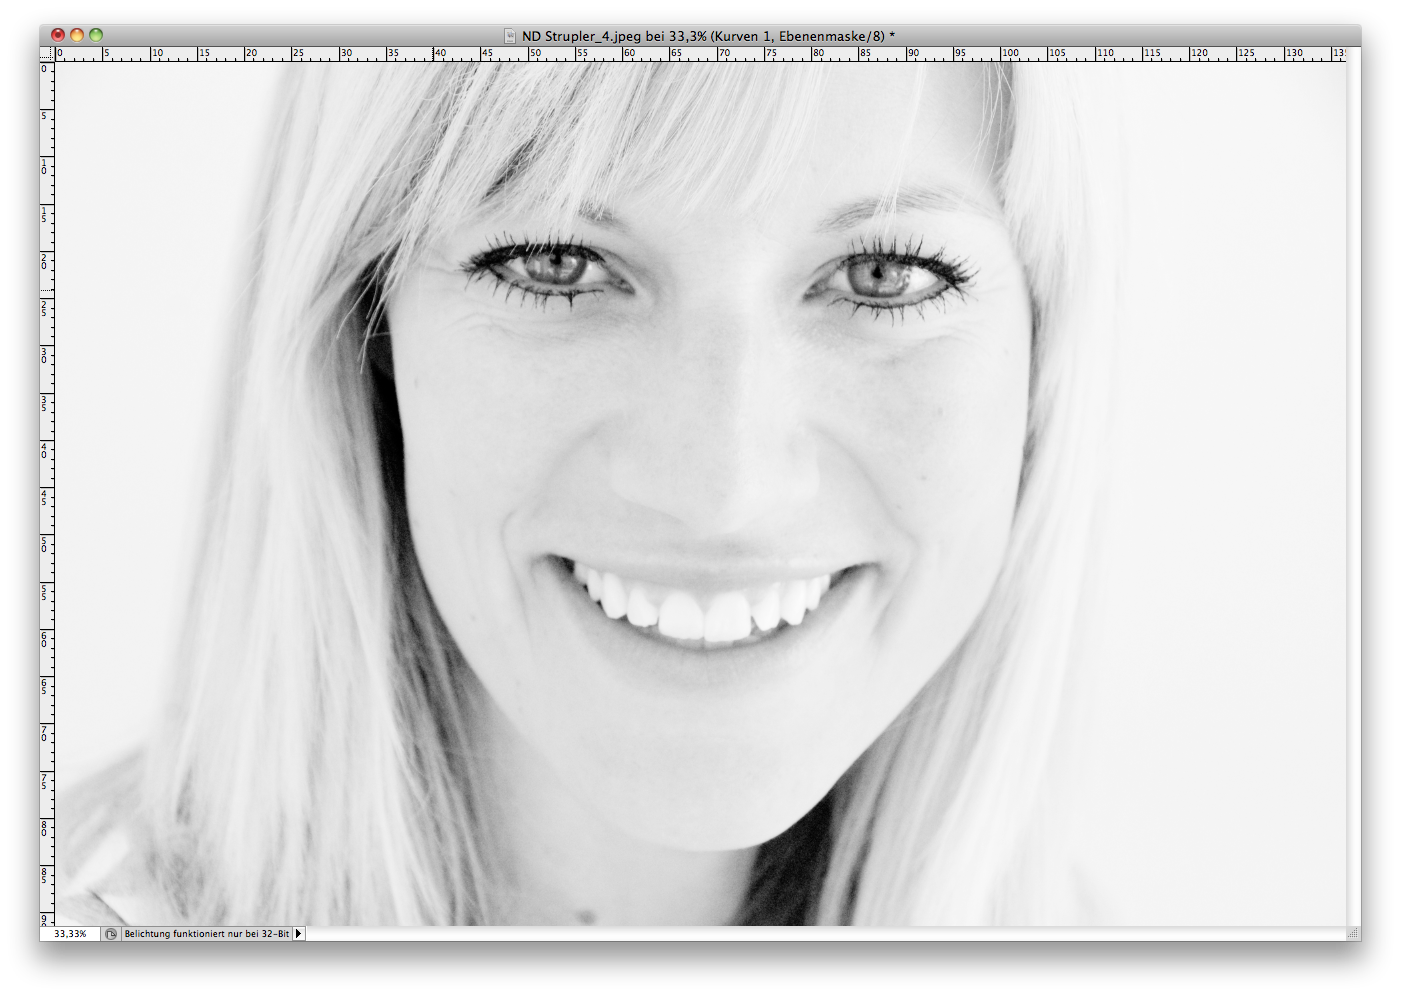
It’s time for another Photoshop Quick Tip. This one is about High Key. Like most digital effects it originally comes from analogue photography. High Key is a typical studio effect, often used for portraits. Characteristics are light colour shades throughout the image, a very light background and evenly spread lighting. In some cases photographers even apply overexposure to reduce contrast and smooth out rough skin. The resulting loss of contours gives the whole thing a rather stylized appearance.
In this week’s Quick Tip we show you how to generate this effect in Photoshop. As described above, low contrast portraits with a light and even background work best.
As so often with How-To’s you’ll find many ways to achieve the same effect. One easy option Photoshop offers here would be to use the Black & White adjustment. As by far not everyone uses the latest Photoshop version we decided to go the classic way through channels and curves.

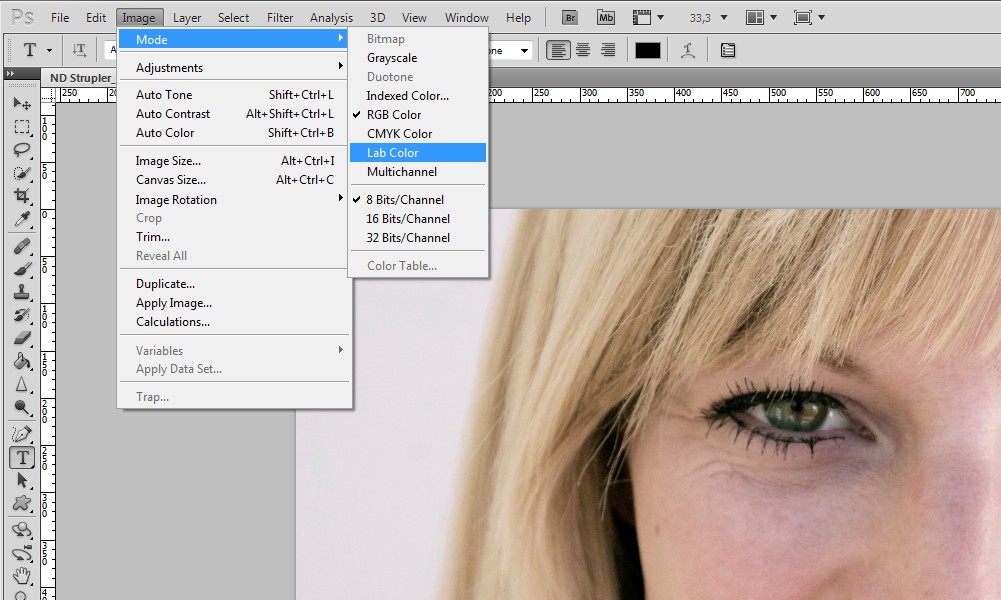
You start the process by opening the image and changing the Mode to Lab.
The Lab system is another way of describing colours. In CMYK a colour is defined via the values Cyan, Magenta, Yellow and Black (subtractive colour mixture), in RGB via Red, Green and Blue (additive colour mixture). Lab colours are described along the axis L (lightness) plus two axis for Red to Green (a) and Yellow to Blue (b).
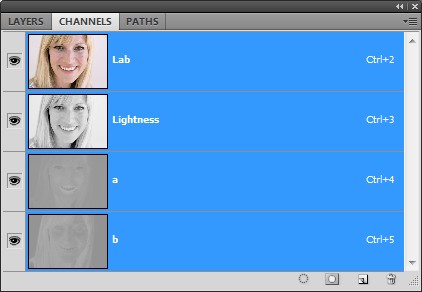
You don’t have to know this for the purpose of this tutorial but knowledge rules. :) For the next step it is sufficient to select the Lightness channel in the panel.
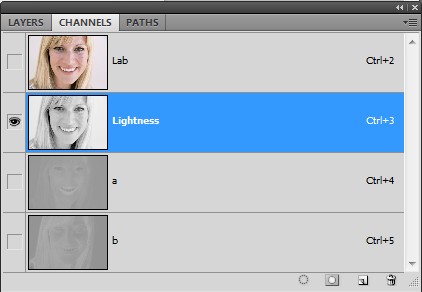
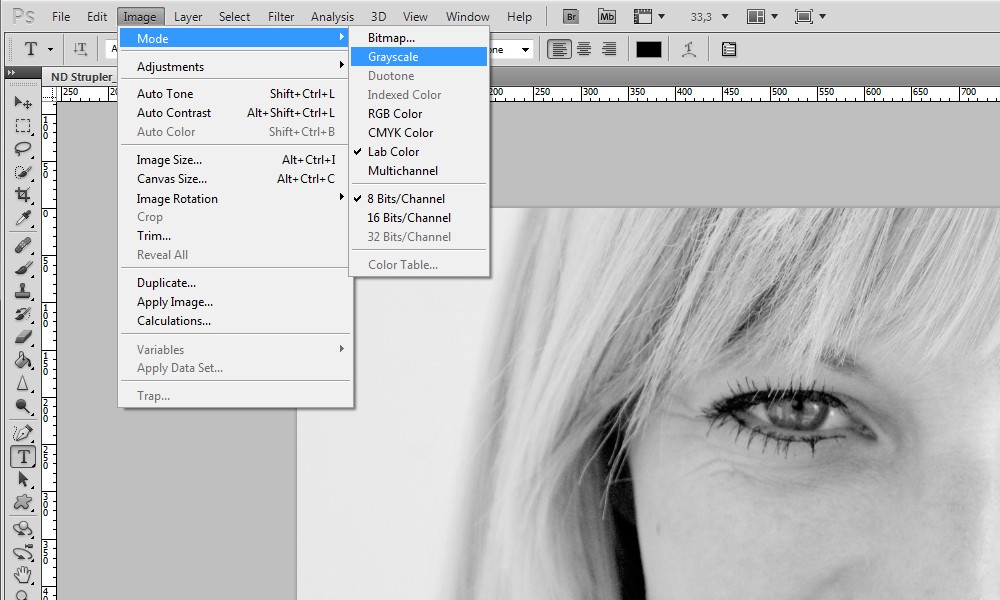
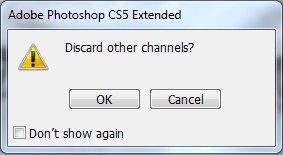
With the selected lightness channel you go to Mode > Image and switch to Grayscale. The following dialogue you confirm with ok (if you have multiple layers there’ll be one more asking you to flatten the image). After all the other channels were discarded you switch back to RGB mode to reactivate all the image manipulation options.
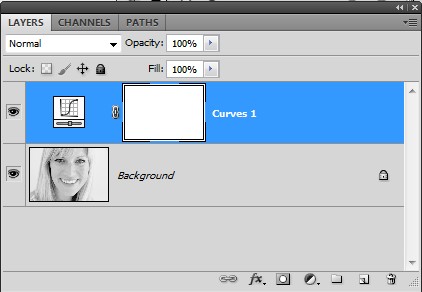
Go back to the layers panel and add the adjustment layer Curves (or via the adjustments menu for older versions).
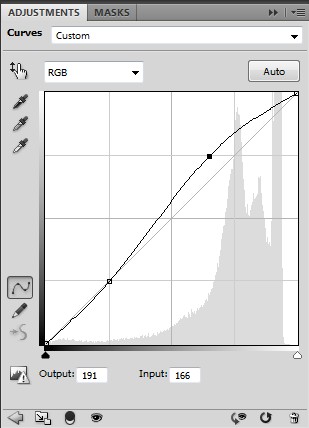
Depending on your basic image you might have to adjust the curve but it should roughly look like the graph above.
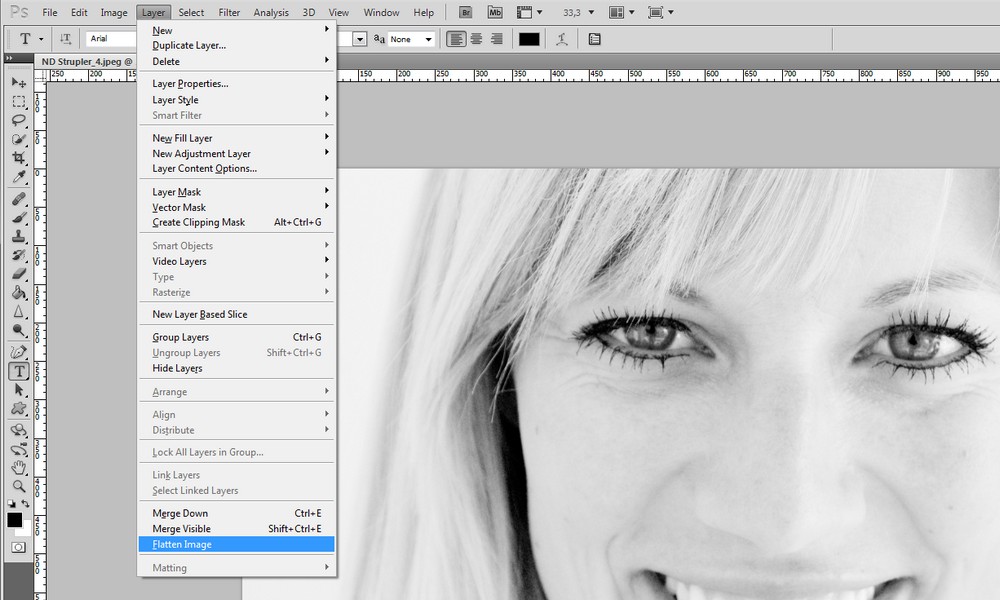
In the layers menu you choose the Flatten Image option to reduce all layers to the background.
After you did that you can make some adjustments to the background, which mainly means lightening up darker areas to achieve an even background. Here’s an easy way to do that:
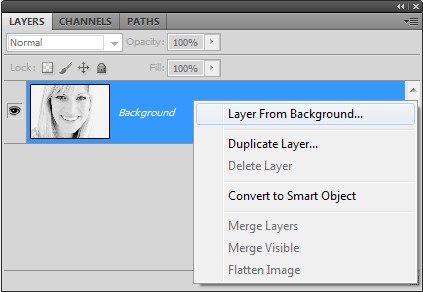
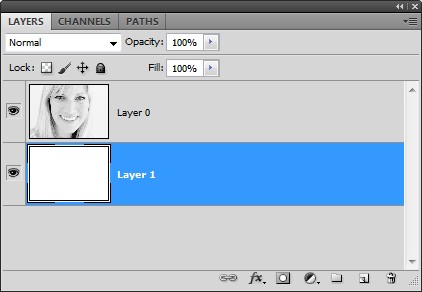
At first you turn the background into a normal layer and then create a new layer, which you place below the original background layer. Fill it with white colour.
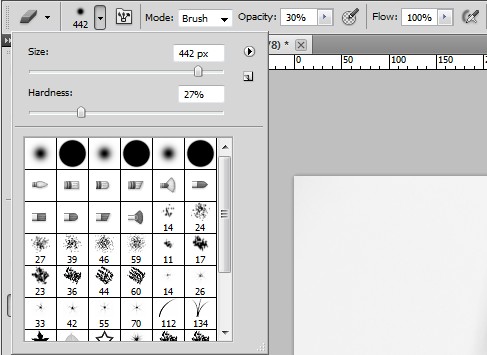
In a next step you select the Eraser tool and prepare a large, relatively soft brush with reduced opacity. I used values around 30% both for hardness and opacity.
You can now work over darker background areas. Depending on the complexity of your image this requires more or less care. If dark background areas are very close to the foreground subject you are better advised to use masks, which are easily reversible. Simply create a layer mask of the background layer and paint with a black or white brush to erase or add layer visibility.
As a final step you reduce everything to the background layer and pat yourself on the shoulder for some well done work.
We would love to see your attempts at this technique. Simply link them in the comments or post them on our Facebook wall. :)
MO/SdP